
Key Takeaways
Replacing your sailboat’s standing rigging is one of the most important safety investments you can make. Understanding the costs, timelines, and key decisions involved is crucial for a successful project. Here are the essential insights to help you budget accurately and plan with confidence.
- Plan for a 10-15 year replacement cycle for stainless steel rigging, regardless of its appearance, to prevent catastrophic failure from invisible metal fatigue.
- Budget for $2,000 to $3,500 for a professional re-rig on a mid-sized cruiser (31-35 feet), noting that a DIY kit can cut material costs in half.
- Choose a professional rigger for the peace of mind that comes with insurance, liability coverage, and guaranteed results, a value that often outweighs the savings of a high-risk DIY job.
- Factor in “hidden” costs beyond the wires, including essential new turnbuckles and crane fees to unstep the mast, which can add $300-$800+ to your budget.
- Capitalize on “while you’re at it” projects when the mast is down to upgrade lights, antennas, and sheaves for a fraction of the future labor cost.
- Create a proactive “Rigging Fund” to make the expense predictable; a $3,000 re-rig only requires saving about $20 per month over its expected 12-year lifespan.
Dive into the full guide to get a detailed breakdown of costs, project timelines, and strategies to protect your investment and ensure your safety on the water.
Introduction
Your sailboat’s standing rigging is the silent workhorse, holding everything up under immense tension. But how old is too old? It’s a question that nags at every conscientious owner, especially when you’re miles from shore.
The truth is, looks can be deceiving. Most marine surveyors agree that stainless steel wire rigging has a finite lifespan of 10-15 years, regardless of how shiny it appears. Invisible metal fatigue is the real enemy, a hidden weakness that is the leading cause of sudden, catastrophic dismasting.
Facing a full replacement can feel overwhelming, both financially and logistically. But ignoring it isn’t an option. The cost of failure—in terms of damage, safety, and peace of mind—is infinitely higher than the cost of proactive replacement.
This guide is designed to demystify the entire process. We’re cutting through the complexity to give you the clear, practical information you need to make a confident decision.
Here, you’ll find a complete breakdown of:
- Realistic cost estimates based on boat size and project scope
- The critical decision between a DIY replacement and hiring a professional
- How to budget for hidden costs and smart “while you’re at it” upgrades
- Financial strategies to make this major investment more manageable
Understanding what drives the cost is the first step. Let’s break down why this is one of the most important investments you’ll ever make in your vessel.
Why Standing Rigging Replacement is a Non-Negotiable Investment in Your Boat’s Safety
Standing rigging is the silent workhorse of your sailboat. It provides the critical structural support for the mast, working under immense tension every time you sail.
Understanding its importance is the first step in appreciating why its replacement is not a maintenance task to be deferred, but a crucial investment in safety and peace of mind.
The Finite Lifespan of Your Rigging
Most marine surveyors and insurance companies agree: you should plan to replace stainless steel wire rigging every 10-15 years, regardless of how it looks.
The reason for this strict schedule is invisible metal fatigue. Under constant tension and cyclical loading, stainless steel develops microscopic cracks you can’t see. This hidden weakness is the single leading cause of unexpected rigging failure.
While the most dangerous weakness is invisible, you can often spot signs of advanced age:
- Broken wire strands, often sharp enough to be called “meathooks”
- Rust stains weeping from terminals where the wire enters the fitting
- Cracks or visible deformation in swage fittings
- Corrosion under spreader boots or inside a furling system
The Real Cost of Rigging Failure
Picture this: you’re sailing in a perfect breeze, and with a single loud crack, your mast comes crashing down.
The failure of just one shroud or stay can trigger a domino effect, causing a catastrophic dismasting. This event goes far beyond a broken wire, often causing massive secondary damage like holes in your deck, destroyed lifelines, and a serious risk of injury to your crew.
Proactively replacing your rigging on a set schedule is one of the single best ways to protect your crew, your vessel, and its resale value. A boat with a recent, documented re-rig is always a more secure and valuable asset.
Ultimately, treating rigging as a wear item with a fixed service life is the responsible approach. This mindset shift changes replacement from a surprise expense into a predictable investment in your safety on the water.
The Core Cost Breakdown: What to Expect When You Re-Rig
The question on every boat owner’s mind is, “So, what will this actually cost?”
While the answer varies, you can build a realistic budget by breaking it down. For a typical mid-sized cruiser (30-34 feet), expect to pay between $700 for a DIY kit and over $2,000 for a professional installation.
Estimated Costs by Boat Size
Here’s how those costs generally break down by boat size, based on standard 1×19 stainless steel wire and professional labor.
- Small Cruisers (25-30 feet):
- DIY Kit: Approximately $700 – $1,200
- Professional Job: Approximately $1,500 – $2,200
- Mid-Sized Cruisers (31-35 feet):
- DIY Kit: Approximately $1,200 – $1,600
- Professional Job: $2,000 – $3,500. European prices are often lower, with riggers quoting €900-€1200 for a 34-footer, plus labor.
- Larger Cruisers (36-42 feet):
- DIY Kit: $1,600+, becoming more variable with complexity.
- Professional Job: $3,500 – $6,000+ due to more wires and larger hardware.
The Three Main Drivers of Your Final Bill
Your final bill is driven by three key factors. Understanding them helps you make smarter decisions for your project.
- Materials: The wire itself is a primary expense.
- Stainless Steel Wire: The most common choice (1×19) costs $1 to $4 per foot for the cable alone.
- Specialty Rigging: Rod rigging (for performance) and synthetic rigging (for weight savings) are significantly more expensive.
- Labor: Hiring a professional rigger is an investment in expertise.
- Hourly Rates: Pros typically charge between $60 and $90 per hour (£50/hr is a common UK rate).
- Time on Task: A simple shroud might take 2 hours, but a headstay with a furler can easily take 3-5 hours.
- Scope of Work: “Replacement” should mean everything. A full replacement of all wires, terminals, and turnbuckles is the industry standard and the only way to ensure the entire system is safe.
Your total investment directly reflects the materials you choose, the labor you hire, and the thoroughness of the job. Planning for all three components is the key to creating an accurate budget and avoiding surprises down the line.
The Big Decision: DIY Replacement vs. Hiring a Professional Rigger
One of the biggest forks in the road for this project is whether to tackle it yourself or hire a professional rigger.
This choice has massive implications for both your budget and the final outcome. Both paths are valid, but they are suited for very different boat owners and situations.
The DIY Route: Maximizing Savings Through Sweat Equity
Doing the work yourself can cut the final bill by 50% or more, as you are primarily just paying for materials.
The DIY process typically involves one of two approaches:
- Pre-Made Kits: The most popular method. You carefully measure your old rigging and order a pre-made kit with professionally swaged terminals, simplifying the installation.
- Self-Swaging: This requires buying or renting expensive specialized tools. The learning curve is steep, and the consequences of a bad swage are severe.
This is not a project for beginners. The structural integrity of your mast depends entirely on your work, and there is no warranty if you get it wrong. “Measure twice, cut once” has never been more critical.
The Professional Rigger: Investing in Peace of Mind
A professional rigger has done this job hundreds of times. They can spot potential issues you might miss, often have access to trade discounts on materials, and possess the tools to work efficiently.
A professional’s process is thorough, covering inspection, a detailed quote, installation, and a final rig tune for optimal performance.
Hiring a pro offers three key benefits:
- Insurance & Liability: A reputable rigger is insured. If their work fails and causes damage, you are covered.
- Guaranteed Results: The job is done right, and the rig is properly tuned, which can significantly improve your boat’s sailing performance.
- Efficiency: A task like replacing a headstay and furler might take a pro 3-5 hours, potentially saving you an entire weekend of work.
The choice ultimately comes down to a trade-off between your budget and your tolerance for risk. If you have deep mechanical confidence and ample time, a DIY kit offers huge savings. For most owners, the expertise, insurance, and guaranteed safety of a professional is a wise investment in their boat and crew.
Beyond the Wires: Budgeting for Hidden Costs and “While You’re At It” Upgrades
A common pitfall in budgeting for a re-rig is focusing only on the wires. The true project cost often includes essential hardware and jobs that are best done simultaneously.
Factoring these items in from the start prevents sticker shock later and ensures a comprehensive, safe outcome.
Essential Hardware You Should Replace
It’s considered poor practice to put old, fatigued hardware on brand-new rigging. These components are critical and age at the same rate as your wires.
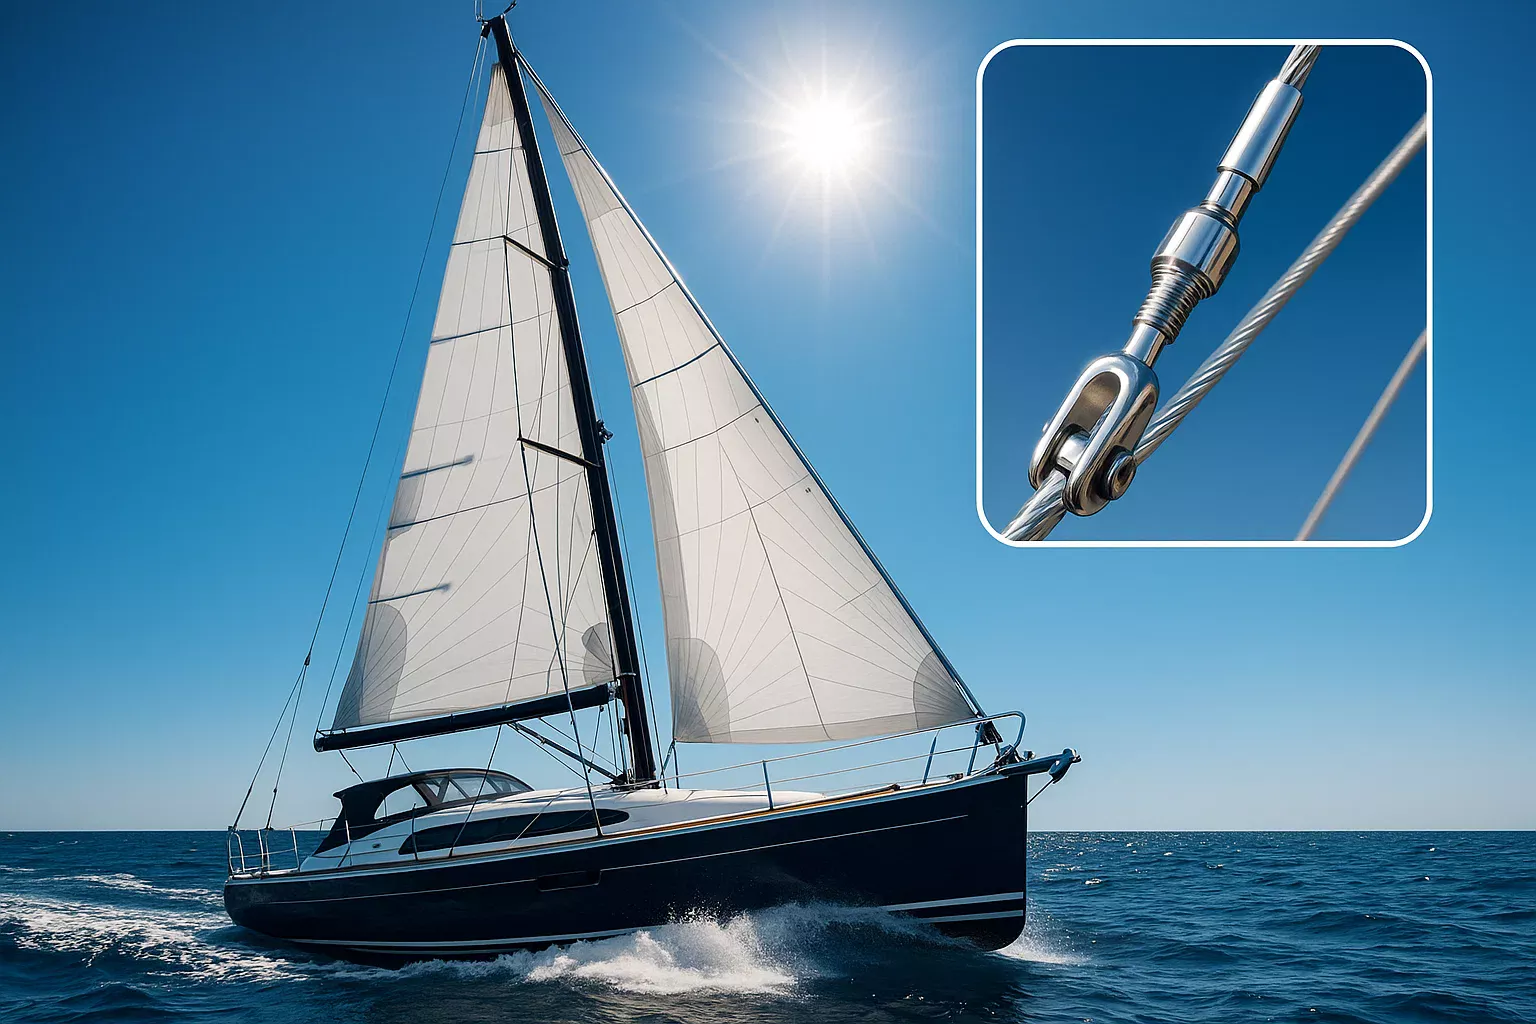
- Turnbuckles (Bottlescrews): These are under immense strain and wear out. Budget $50 to $200+ per turnbuckle, depending on the size and style.
- Clevis Pins & Cotter Pins: These small connectors are critical failure points. Replacing all of them is a minor cost but a major safety upgrade.
- Chainplate Inspection: With the rigging off, it’s the perfect time to inspect the metal tabs anchoring the rig to your hull. Finding issues now is far better than discovering them under sail.
The Cost of Working on the Mast
Many professional riggers insist on working with the mast out of the boat. This allows for a full 360-degree inspection and makes the work safer and more efficient.
Be sure to budget for the crane and boatyard fees required to unstep and re-step your mast, which typically runs from $300 to $800+ for the round trip.
Capitalize on “While You’re At It” Projects
Picture your mast resting on sawhorses in the yard—this is a huge opportunity for preventative maintenance. The labor to do these jobs with the mast up is significantly higher.
Address these tasks for a fraction of the future cost:
- Replace masthead lights with modern, reliable LEDs.
- Install a new VHF antenna and run fresh coaxial cable.
- Service or replace all worn sheaves (pulleys) for your halyards.
- Swap out old, tired running rigging like halyards and topping lifts.
Thinking beyond the wires transforms your re-rig from a simple replacement into a complete system overhaul. This comprehensive approach ensures safety and saves you significant money on future labor costs.
Smart Financial Strategies for Your Rigging Replacement
Facing a multi-thousand-dollar bill for new rigging can feel daunting.
But with smart planning, you can approach your re-rig with a strategic mindset that saves money and reduces financial stress.
Timing is Everything: Plan for the Off-Season
Riggers and boatyards are always busiest during the pre-season rush in spring and through the peak summer months.
Scheduling your project for the late fall or winter gives you two key advantages:
- Better availability and potential for off-season rates.
- Minimal interruption to your prime sailing season.
This simple shift in timing can have a big impact on both your schedule and your budget.
The Power of a Hybrid Approach
If you have solid mechanical skills but are wary of the most critical tasks, a hybrid model offers the best of both worlds.
Picture this: a professional rigger takes the precise measurements and fabricates the new rigging in their shop. Then, you perform the installation yourself.
This strategy ensures the components are built to professional standards while you save significantly on hourly labor costs.
Phased Replacement: A Viable Strategy?
Some owners consider replacing rigging in stages—like the forestay one year and the shrouds the next—to spread out the cost.
While this makes the initial bill more manageable, it’s often less efficient and can cost more in the long run due to duplicated labor.
More importantly, it may not be a safe option if the entire system is at the end of its service life. Always consult a professional rigger before choosing this path.
The “Rigging Fund”: Proactive Financial Planning
The best strategy is to treat your rigging like your car’s tires: it’s a wear item with a predictable lifespan.
Instead of being surprised by the cost, plan for it from day one with a simple savings plan.
Based on a $3,000 re-rig cost with a 12-year lifespan, you only need to set aside just over $20 per month. This simple habit turns a future financial shock into a predictable, manageable expense.
By planning your timing, considering a hybrid approach, and saving proactively, you transform a major financial hurdle into a manageable part of boat ownership. This strategic mindset protects your wallet and ensures your vessel is safe and ready for the water when you are.
Conclusion
Tackling a standing rigging replacement is a major milestone in boat ownership. By understanding the true costs and factors involved, you move from a place of uncertainty to one of empowered, confident decision-making.
This isn’t just about managing an expense; it’s about investing directly in your safety and peace of mind on the water.
Your Key Takeaways
- Plan on a 10-15 Year Lifespan: Treat your rigging as a wear item with a fixed service life, regardless of its visual condition, to avoid the risk of invisible metal fatigue.
- Budget Beyond the Wires: A realistic budget must include critical hardware like turnbuckles, clevis pins, and potential boatyard fees for unstepping the mast.
- DIY vs. Pro is a Risk Calculation: The DIY route offers huge savings but carries significant risk. Hiring a professional is an investment in guaranteed safety, insurance, and expertise.
- A “Rigging Fund” is Your Best Strategy: Proactively saving a small amount each month (like $20-$30) transforms a future financial shock into a predictable, manageable expense.
Your Immediate Next Steps
Your next move is to turn this knowledge into action. Walk your deck this weekend and perform a visual inspection for the warning signs we discussed.
Dig into your boat’s records to pinpoint the exact age of your rigging. If it’s over ten years old, or if you simply don’t know, get a professional inspection or a quote from a local rigger. It costs nothing to ask, and the information you gain is invaluable for planning.
Ultimately, the goal is to cast off the lines with complete trust in your vessel. A well-maintained rig doesn’t just hold up the mast—it holds up your confidence, letting you focus on the wind, the waves, and the pure joy of sailing.
Leave a Reply