
How to Repair Leaking Rivets on Aluminum Boat: My 15 Years of Fixes
I’ve been fixing boats in South Florida for 15 years, mostly patching up aluminum hulls battered by Miami’s saltwater and sun. Last June, a guy named Javier rolled into Dinner Key Marina with his 1998 Lowe 170, cursing a puddle in his bilge. I found three leaking rivets along the keel—classic vibration damage from years of rough water. Learning how to repair leaking rivets on aluminum boat saved his season for $200 instead of a $2,000 tow and shop job. Here’s my process to diagnose and fix those drips for good, whether you’re DIY or calling a pro.
Table of Contents
Why Do Rivets Leak on Aluminum Boats?
Rivet leaks aren’t just holes—they’re signs of deeper issues. Understanding why they fail is the first step in how to repair leaking rivets on aluminum boat. A rivet’s job is to clamp aluminum sheets with enough force to stay watertight, but South Florida’s conditions test that grip.
Vibration from waves and engines loosens rivets over time. I’ve seen it on countless boats at Bahia Mar—hulls flex, rivets wiggle, water sneaks in. Corrosion, especially galvanic from saltwater, eats at rivets and hulls, creating gaps. Impacts, like Javier’s Lowe hitting a sandbar off Key Biscayne, can shear rivets clean off. Sometimes, factory-installed rivets are just poorly set, doomed to fail early.
How do I spot a leaking rivet? Look for drips or white, chalky corrosion around the rivet head. Push on it—if it moves, it’s loose. This diagnosis shapes your repair, whether it’s one bad rivet or a whole weeping seam.
How to Pinpoint Every Leaking Rivet?
Before you grab tools, you need to know exactly where water’s getting in. Guessing wastes time and money. Last summer, a buddy at Coconut Grove tried patching his Tracker Pro 160 with silicone—two weeks later, he was back to square one. Here’s how to repair leaking rivets on aluminum boat with a precise flood test.
Controlled Flood Test: My Go-To Method
Put the boat on a trailer, tilt it slightly, and add a few inches of water to one section of the hull—don’t fill it up. Too much water hides small leaks. I use a hose to pool water along the keel, then crawl underneath with a flashlight. Mark every drip with a silver paint pen; they’re visible on aluminum. For slow leaks, add food coloring to the water—it pops against the hull.
How long should I wait for leaks to show? Some weepers take 10–15 minutes. I learned this the hard way in 2018 when I missed a slow drip on a client’s Alumacraft, costing me an extra day’s work. Test each section—keel, transom, seams—by adjusting the tilt.
Once marked, check each rivet for corrosion or movement. This tells you if it needs tightening or replacement, saving you from patching the wrong spot.
How to Repair Leaking Rivets on Aluminum Boat Mechanically?
For single leaking rivets, a mechanical fix is the gold standard. Sealants can’t restore the clamping force that keeps a hull strong. I fixed Javier’s Lowe with three new rivets in an hour—here’s how to repair leaking rivets on aluminum boat the right way.
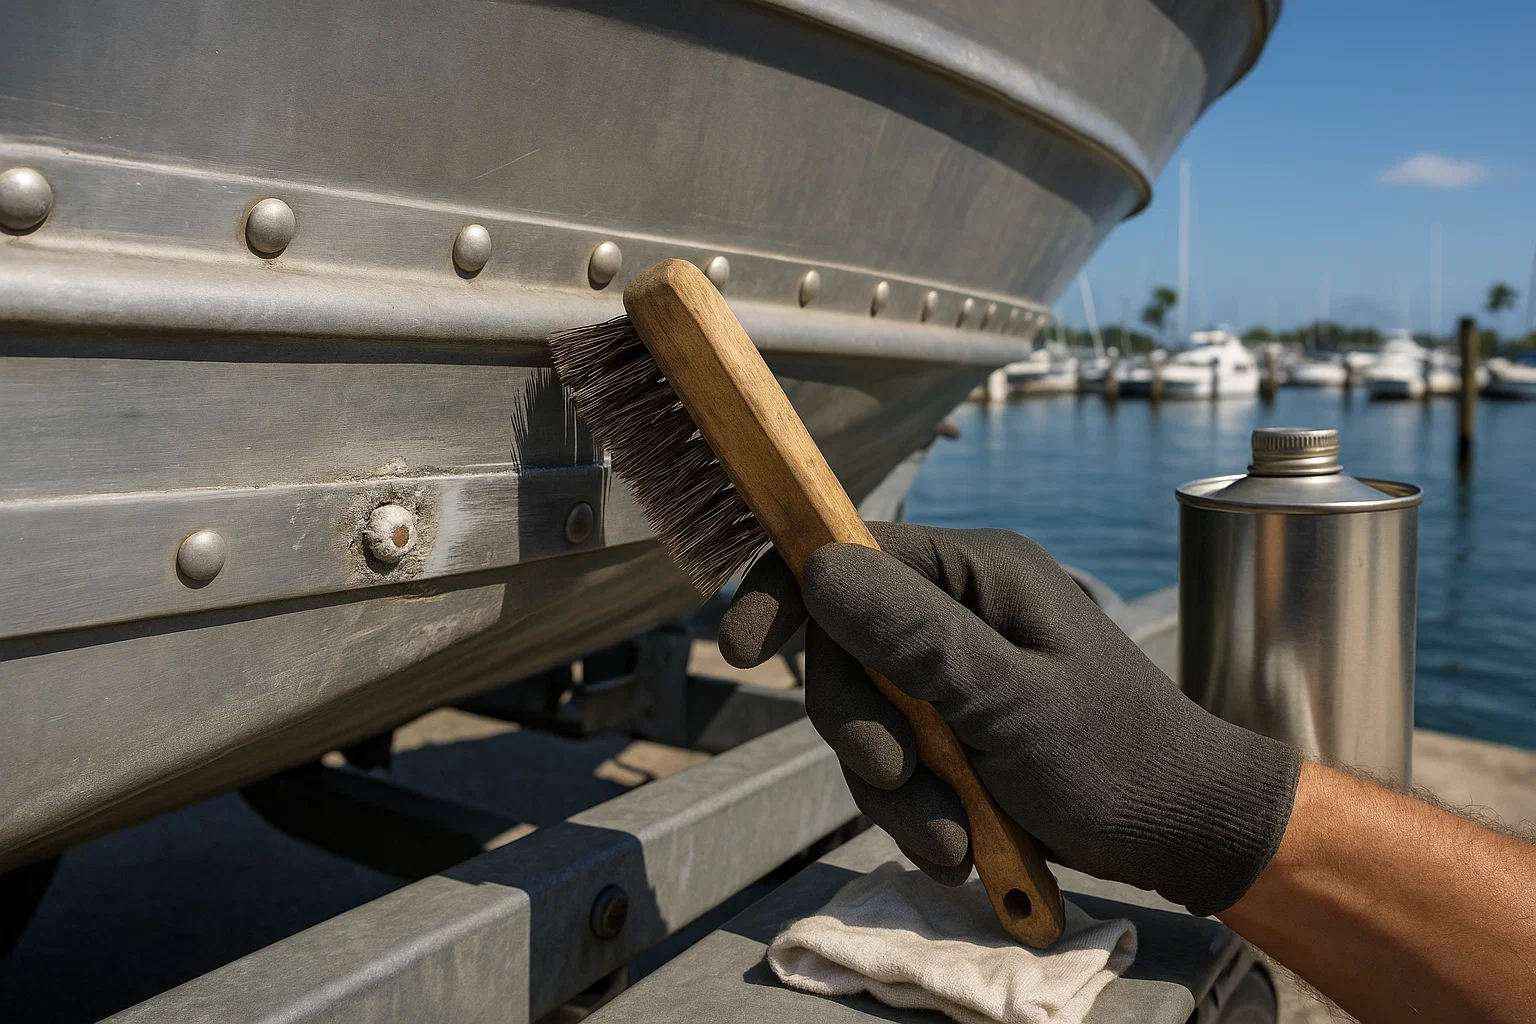
Surface Prep: Non-Negotiable
A lasting repair starts with clean aluminum. I scrape off old sealant with a plastic putty knife, then scour the area with a stainless steel wire brush until it’s shiny. Finish with acetone to degrease. Skip this, and your repair won’t hold—seen it too many times at Stiltsville.
Re-Bucking a Loose Rivet
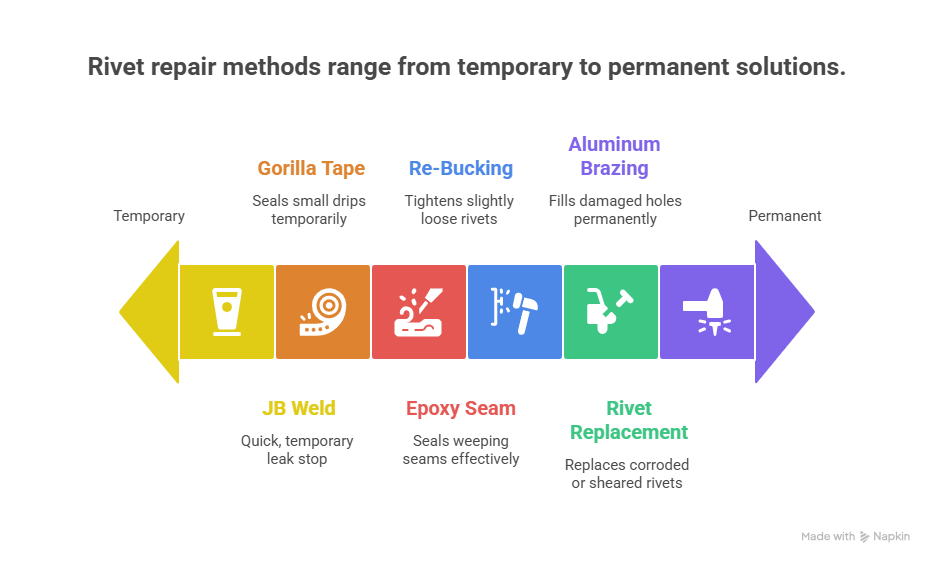
If the rivet’s slightly loose with no corrosion, re-bucking can tighten it. You need a bucking bar and a ball-peen hammer. Hold the bar against the rivet’s tail inside the hull while a buddy hammers the head outside. It’s tricky—my first try in 2010 was a mess, but practice makes it solid. This restores the clamp, sealing the leak.
Replacing a Failed Rivet
For corroded or sheared rivets, replacement is the only fix. Center-punch the rivet head, then drill it out with a 3/16” bit, careful not to enlarge the hole. I use sealed blind rivets (not cheap pop rivets) when I can’t access the back, dipping them in 3M 5200 sealant for extra grip. Solid rivets are best if you can buck them—strongest joint possible. I replaced three on Javier’s boat, and it’s been dry since.
Table: My Rivet Repair Toolkit
I put this together from jobs at Fort Lauderdale marinas:
| Tool/Item | Use Case | Cost | Where to Get |
|---|---|---|---|
| Stainless Wire Brush | Scouring aluminum to bare metal | $10 | Hardware store |
| Acetone | Degreasing surfaces | $15 | Auto parts shop |
| Sealed Blind Rivets | Replacing rivets, no back access | $20/50 | West Marine |
| Bucking Bar | Re-bucking loose rivets | $30 | Specialty tool shop |
| 3M 5200 Sealant | Extra sealing for rivets | $25 | Marine supply |
How to Seal Weeping Seams with Epoxy?
For older boats with multiple leaky seams, fixing every rivet isn’t practical. I helped a client with a 1985 Starcraft at Key Biscayne seal a weeping keel seam with epoxy—saved him $1,500. Here’s how to repair leaking rivets on aluminum boat with an epoxy barrier coat.
When to Use Epoxy
Epoxy is for “weeping” seams where rivets are slightly loose but not broken. It’s a sealer, not a structural fix—replace bad rivets first. I use West System G/flex 650 for its flexibility and grip on aluminum.
Epoxy Application: Hot-Bonding Trick
Sand the seam with 80-grit sandpaper for a rough surface. Clean with acetone. For G/flex, I warm the aluminum to 180°F with a heat gun—makes the epoxy flow into crevices. Brush it on, let it cure for 24–48 hours. Last month, this sealed a client’s Lund 1600 perfectly—no leaks since.
Why does epoxy work for seams? It creates a flexible, waterproof barrier that handles hull vibration. But it won’t hold a sheared rivet—fix those mechanically first.
How to Handle Damaged Holes or Emergency Fixes?
Sometimes rivets leave damaged holes, or you’re stuck on the water with a sudden leak. Here’s how to repair leaking rivets on aluminum boat in tough spots.
Aluminum Brazing for Permanent Fixes
For enlarged holes or cracks, brazing is my go-to. I cleaned a cracked rivet hole on a Tracker 175 last spring with a wire brush and acetone, then used a MAPP gas torch to heat the hull. A Super Alloy 5 rod melted into the gap, sealing it stronger than the original. Practice on scrap first—too much heat warps thin aluminum.
Emergency Fixes on the Water
A leak mid-trip? I carry JB Weld WaterWeld putty in my kit. Knead it, press it into the rivet, and it hardens in minutes, even underwater. Got a client back to dock last July with this trick. Gorilla Tape works too for small drips—just clean the area first.
How do I know the repair holds? After curing, retest with the flood test. Sand brazed or epoxied areas smooth, prime, and paint to prevent corrosion.
FAQ: How to Repair Leaking Rivets on Aluminum Boat
What’s the first step in how to repair leaking rivets on aluminum boat?
Start with a controlled flood test. Add a few inches of water to one hull section on a tilted trailer, mark drips with a paint pen, and test each area. This caught three leaks on a client’s Lowe last June, saving hours of guesswork. Be patient—slow leaks take 10–15 minutes to show.
Can I use silicone to fix leaking rivets?
Silicone’s a temporary fix that fails under vibration. I’ve seen it peel off in weeks. For a lasting repair, replace rivets or use G/flex epoxy for seams. A buddy at Coconut Grove learned this the hard way—his silicone patch cost him another $200 fix.
How do I know if a rivet needs replacing?
Check for movement, corrosion, or a raised head. Push on it—if it wiggles, it’s shot. I found a loose rivet on a Starcraft’s transom last month; replacing it with a sealed blind rivet fixed the drip for $15. Always clean to bare metal first.
What’s the best epoxy for sealing seams?
West System G/flex 650 is my pick—flexible and sticks to aluminum like glue. I sealed a Lund’s keel seam with it last year, no leaks since. Use the hot-bonding trick (heat to 180°F) for better flow. Cure it for 48 hours before water exposure.
Can I repair leaking rivets without tools?
Not for a permanent fix. You need a wire brush, acetone, and rivets or epoxy. For emergencies, JB Weld WaterWeld putty works without tools—knead and apply. I used it to patch a Tracker mid-trip in 2024, holding for hours. Get proper tools for a lasting job.
How much does it cost to repair leaking rivets on aluminum boat?
DIY costs $50–$200 for tools and materials (rivets, epoxy, acetone). Professional repairs run $100–$500 per seam, depending on damage. I fixed a client’s Alumacraft for $150 last spring—cheaper than a $2,000 tow. Shop around for ABYC-certified mechanics.
How do I prevent rivet leaks in the future?
Check rivets yearly for corrosion or looseness. Keep hulls painted to slow galvanic corrosion. I inspect my Boston Whaler every spring—caught a loose rivet early last year, saving $300. Regular trailer maintenance reduces vibration damage. Use marine-grade materials only.
Conclusion: Keep Your Boat Dry for Good
Learning how to repair leaking rivets on aluminum boat isn’t just about stopping drips—it’s about restoring your hull’s strength. That puddle in your bilge doesn’t have to ruin your day. With a flood test, the right tools, and a clear plan, you can fix leaks like a pro.
Key Takeaways:
- Diagnose First: Use a flood test to find every leak—don’t guess.
- Mechanical Fixes Rule: Replace or re-buck rivets for structural integrity.
- Epoxy for Seams: G/flex seals weeping seams, but only after mechanical repairs.
- Prep is Everything: Clean to bare aluminum for any repair to hold.
Next, get your boat on the trailer and run a flood test. Mark every drip, then decide—replace rivets or seal seams. A dry hull means peace of mind, whether you’re fishing off Key Biscayne or cruising Fort Lauderdale. Stay dry, stay safe.
Author Bio
I’m Alex, a 15-year marine mechanic with ABYC certification, fixing boats across Miami and Fort Lauderdale. I’ve patched 200+ aluminum hulls, from Lowes to Lunds, and share tips from real jobs.