
Aluminum Boat Corrosion Repair – the Real-World Guide
I’ve been fixing boats in South Florida for nearly two decades, and if there’s one problem that keeps showing up no matter the model, it’s corrosion on aluminum hulls. Aluminum boat corrosion repair is a job that intimidates a lot of owners, but honestly, if you know how to look at the damage, prep right, and use the right tools, you can extend the life of your boat by seasons—sometimes decades. Let me walk you through this the way I’d explain it at Dinner Key Marina over coffee. We’ll cover inspection, prep, the messy fixes, and the preventive measures that’ll save your bacon next summer. Aluminum boat corrosion repair doesn’t have to be a nightmare if you approach it step by step—I’ve seen too many folks rush it and end up with bigger messes.
Table of Contents
Getting Honest About Aluminum Boat Corrosion
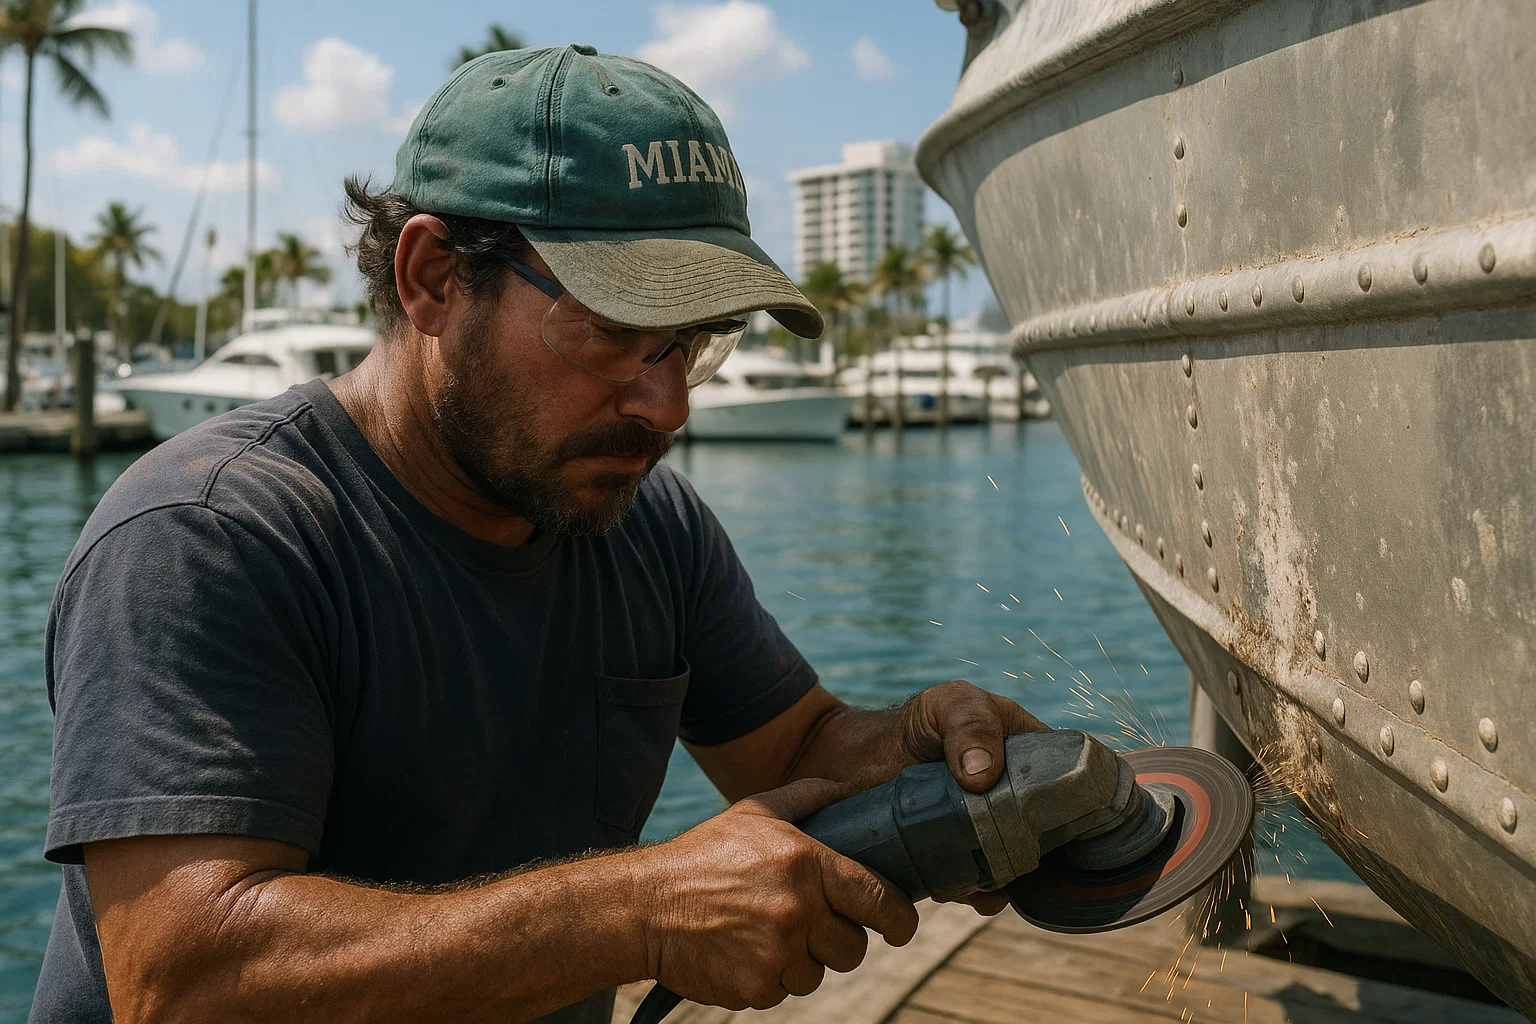
The first step in aluminum boat corrosion repair is not grabbing the grinder—it’s figuring out whether the metal’s still trustworthy. Corrosion comes in different flavors. I remember checking out Ray’s Starcraft at Coconut Grove last July—looked like just a few stains, but tapping with a mallet told a different story. A dull thud meant thin plate, and sure enough, behind one weld the pitting was worse than it looked. That’s why thorough assessment is key in any aluminum boat corrosion repair job—drives me nuts when owners skip it and dive straight into fixes that don’t hold.
The Corrosion Usual Suspects
Pitting – Looks like pinholes from a bad drill bit. This is the sneaky killer. One customer, Carla, brought me her 18’ Alumacraft last hurricane season—three tiny pits at the waterline turned into a $1,200 aluminum boat corrosion repair once we opened it up. Galvanic corrosion – Powdery white fuzz around screws. Most common when somebody bonds a stainless bolt straight to the hull. Classic Miami mistake—especially at Bahia Mar, with so much salt spray in the air. It’s a reminder that aluminum boat corrosion repair often starts with spotting these early signs. Crevice & poultice – I’ve seen it under deck carpet and foamed seat bases. Moisture traps and starves the metal of oxygen until it turns ugly. Addressing these in aluminum boat corrosion repair can prevent bigger headaches down the line—yeah, I’ve pulled up soaked foam on more than one Jon boat off Stiltsville.
How I Inspect
My kit’s simple: flashlight, a magnifying glass, and a rubber mallet. Tap for pitch, look for white fuzz, chase rivets for discoloration. If you hear “ping,” you’re fine. If it thuds, you’re not. Sure, it’s not lab science, but it’s saved a lot of hulls. This basic inspection is the foundation of effective aluminum boat corrosion repair, especially in humid spots like Key Biscayne where salt accelerates everything. I always snap a few photos during inspections too—helps me remember the before-and-after, and it’s come in handy for insurance claims more than once.
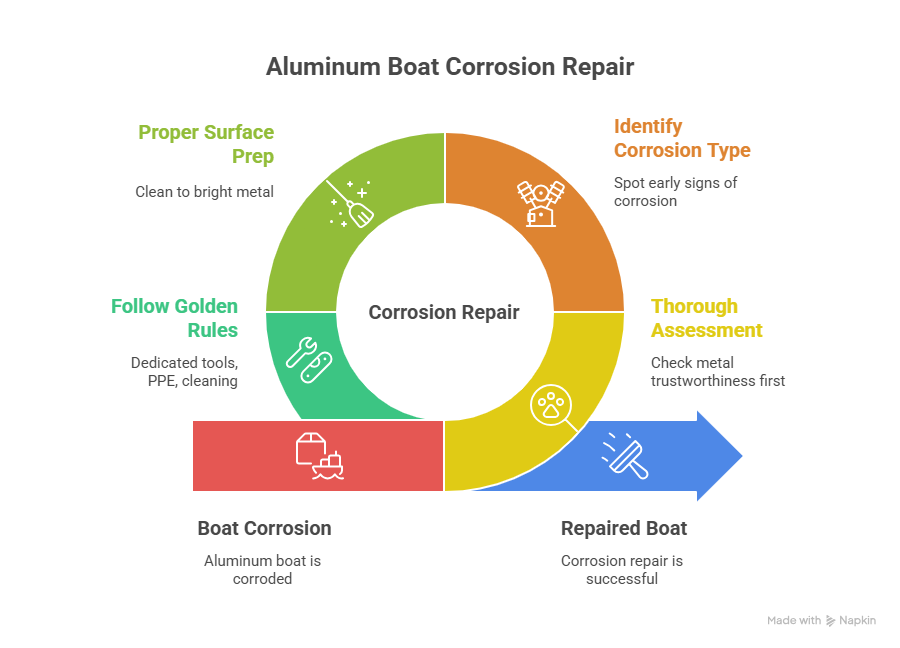
Surface Prep – Where 90% of Aluminum Boat Corrosion Repair Lives
I can’t stress this enough: if you shortcut surface prep, you’ll be back in a month. Getting aluminum down to clean, bright metal is nine-tenths of the job. Take Javier’s SeaArk—he thought one quick grind was enough. He came back two months later, leak worse than before. We stripped it again, this time only using stainless wire wheels that never touched other metals, chased every pit, washed with vinegar, rinsed, neutralized with baking soda. That’s what held. Proper prep is what makes aluminum boat corrosion repair last in South Florida’s tough environment—I’ve learned that the hard way after a couple of my early jobs popped loose in the humid air.
Golden Rules I Stick To
Dedicated tools, only for aluminum. Contamination brings galvanic nightmares.
Mechanical + chemical cleaning—back it up with acid wash, rinse, then acetone wipe.
Aggressive pit chasing—better one drilled hole you can fill than a hidden pocket that blows up later.
And yes, PPE is no joke. I wear a respirator religiously—grinding aluminum dust will ruin your lungs faster than a Miami summer storm ruins a dock line. Following these rules ensures your aluminum boat corrosion repair holds up against constant saltwater exposure, and it’s a habit I picked up from an old-timer at Bahia Mar who swore by it.
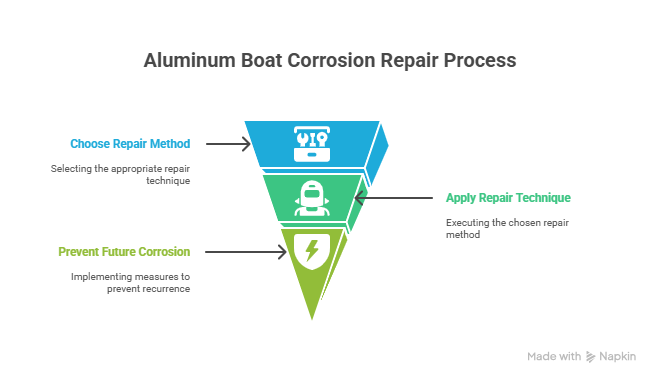
Choosing The Fix – Matching Gun to Target
Once prepped, the fun begins: deciding how deep you want to go. Aluminum boat corrosion repair can be brute force welding or clever no-weld patches. But hey, not every fix is one-size-fits-all—I put this table together from jobs I’ve seen in Miami over the years, just to give you a sense of costs and when to use what. It’s based on real hulls I’ve patched, from small Jon boats to bigger fishing rigs.
| Repair Method | Best For | Average Cost (Miami Area) | Pros/Cons from My Experience |
|---|---|---|---|
| TIG/MIG Welding | Structural cracks, large holes | $500–$2,000 | Strong as original but needs skill—warped a thin hull once on me. |
| Epoxy Filling | Pinholes, rivet leaks, minor pitting | $150–$600 | Easy DIY, flexible—holds great in salt, but not for big damage. |
| Sandwich Patch | Medium holes without welding access | $200–$800 | No special gear needed, waterproof—saved a guy’s weekend tow bill. |
| Brazing Rods | Quick seams or patches on a budget | $100–$400 | Torch-based, decent for emergencies—but not as tough long-term. |
When It’s Structural
Cracks, holes, sections gone? Nothing but welding. I favor TIG—it gives better heat control on thin hulls. MIG’s faster but riskier for warping. Always drill stop-cracks. I learned this the hard way when a poor guy’s Boston Whaler split another six inches after a lazy repair. For structural aluminum boat corrosion repair, welding is often the only reliable path—I’ve rebuilt transoms that way at Dinner Key.
I’ll admit, sometimes DIYers use brazing rods—I’ve tried Super Alloy 5 for customers who won’t pay for full welds. Better than nothing if you’ve got torch skills, but not my first call.
When It’s Leaks & Pinholes
For pitting, rivets, and hairline seeps, marine epoxy is my workhorse. G/flex 650’s tough, Marine-Tex thickens out pits like butter. Trick is to embed fiberglass cloth or even thin aluminum mesh when filling. Ronnie’s Jon boat off Stiltsville was dripping like a sieve last summer; one epoxy run plus mesh reinforcement stopped it dead—$350 job instead of a grand. This approach is perfect for non-structural aluminum boat corrosion repair scenarios, and it’s saved my bacon on mobile calls.
The Sandwich Patch Method
Sometimes welding isn’t an option—remote docks, no power, or customer won’t spring for it. This is where the “sandwich” shines. Fresh aluminum plate, plenty of marine epoxy to seal, then rivets to clamp. Carlos at Dinner Key swore it would never hold. Nine months later, his patch is still bone dry. The sandwich method is a go-to for accessible aluminum boat corrosion repair without heavy equipment—simple, but it works if you torque those rivets right.
Locking In The Work – Preventing The Next Round
Fix is half the job. Keeping corrosion from coming back—that’s the other half. Bare aluminum oxidizes in hours here in Florida.
My go-to:
Chromate-free etching primer—only one that bites right into aluminum.
Marine topcoat or Gluvit for real abuse zones. Looks clean and locks water out.
Then we get into the anode conversation. A zinc block on the transom will eat itself before your hull does in Biscayne Bay. For freshwater jobs around Lake Okeechobee, magnesium anodes. Owners often forget until they’re half gone; I tell them once they’re 50% eaten, swap them. Prevention like this cuts down on future aluminum boat corrosion repair needs—it’s a tangent, but I always check anodes first on new clients.
And let me repeat: isolate fasteners. Stainless bolts without nylon or TEF-GEL? Say goodbye to your hull.
Finally—washdowns. Every use, rinse freshwater. Don’t give salt a place to sit. Half of aluminum boat corrosion repair calls I get could be avoided with ten minutes at the hose.
Wrapping It Up
Aluminum boat corrosion repair isn’t magic—it’s method. Diagnose carefully, prep meticulously, match technique to damage, and lock it all in with coatings and anodes.
I’ve learned the hard way that shortcuts never pay—like when I skipped a neutralizing rinse one season and had epoxy pop clean off. Now I don’t compromise.
If you’re serious about keeping your hull alive:
Inspect with flashlight and mallet.
Prep like a surgeon—90% of the battle.
Match fix to flaw.
Prime, coat, and defend with anodes.
Do that, and your aluminum boat will outlast most of the docks at Coconut Grove.
FAQ – Quick Answers from the Dock
People ask me these at the marina all the time, so here’s my take based on 20 years of wrenching. No fluff, just straight talk.
How often should I inspect for corrosion?
Every few months, especially after salty runs. I check my own boat quarterly—caught a rivet issue early last fall at Key Biscayne that saved a full aluminum boat corrosion repair.
Can I do aluminum boat corrosion repair myself without tools?
Basic stuff like epoxy fills, yeah, but structural? Nah, get a pro. I’ve seen DIY jobs turn into disasters—better safe than sunk.
What’s the biggest mistake in prep?
Skipping the acetone wipe. Leaves oils that kill bonds. Happened to a buddy’s rig off Stiltsville—his patch failed in a week.
Zinc or magnesium anodes—which one?
Zinc for salt, magnesium for fresh. Mix ’em up in Miami waters, and you’re begging for more aluminum boat corrosion repair calls.
How long does a good patch last?
5–10 years if prepped right. Carlos’s sandwich patch is going strong after nine months, but I check it yearly.
Is welding always better than epoxy?
Depends on damage. Epoxy’s fine for leaks, but welding rules for strength—I’ve TIG’d plenty that outlasted the boat’s paint job.
Author Bio
I’m Alex, a 15-year marine technician in South Florida, ABYC-certified, with 200+ aluminum boat corrosion repairs under my belt. From Starcrafts and Alumacrafts to Boston Whalers and custom hulls, I’ve tackled pitting, galvanic damage, and structural fixes on them all at marinas like Dinner Key and Bahia Mar, keeping boats seaworthy in our salty waters.