
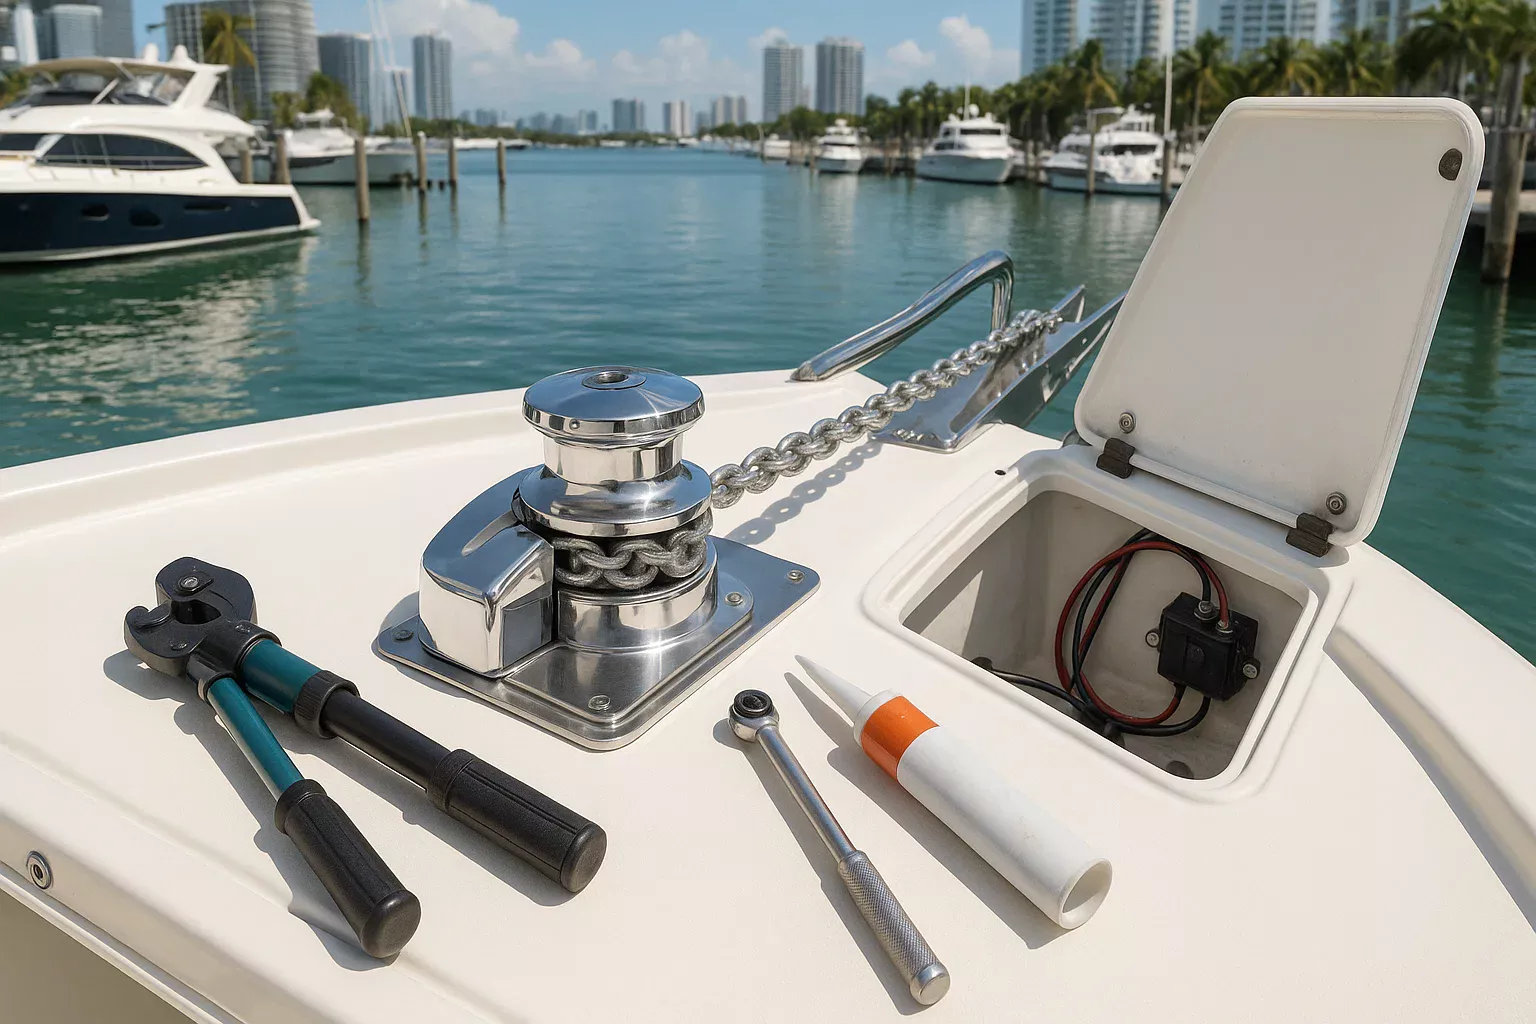
Boat Anchor Winch Installation: 15 Years of Lessons from Miami’s Marinas
I’ve been installing boat anchor winches in South Florida for 15 years, and let me tell you, a sloppy boat anchor winch installation can turn a dream upgrade into a nightmare. Last summer, a guy named Javier at Dinner Key Marina brought me his 2022 Sea Ray 310 with a winch that was practically falling off—bolts loose, deck flexing, and wires exposed to saltwater. He’d paid $1,200 for a botched job by a shop that skipped the basics. That’s why I’m sharing my process for a boat anchor winch installation that’s rock-solid, waterproof, and safe. This guide walks you through every step, from planning to testing, so your boat anchor winch installation lasts for years.
Table of Contents
Why Does a Boat Anchor Winch Installation Matter?
A boat anchor winch installation isn’t just about convenience—it’s about safety and protecting your boat. A bad setup can rip through your deck, fry your electrical system, or leave you stranded. In Miami’s humid, salty air, cutting corners is asking for trouble. I’ve seen $5,000 repairs from water damage because someone skipped sealing the deck. This guide ensures your boat anchor winch installation is built to handle the toughest conditions.
How Do I Choose the Right Spot for a Boat Anchor Winch Installation?
Picking the perfect spot is the foundation of a solid boat anchor winch installation. Last June, I helped a client, Maria, at Bahia Mar with her Grady-White 275. Her bow roller was misaligned, causing the rode to tangle every time. Here’s how I approach it:
- Check Alignment: The winch drum must line up perfectly with the bow roller for a straight rode path. Misalignment wears out the rope and strains the motor. I use a laser level to confirm the line—saved Maria’s winch from premature failure.
- Assess Deck Strength: Tap the deck to gauge thickness. Most fiberglass boats need reinforcement. I’ve seen decks crack under a 1,000-lb load without a backing plate.
- Plan Access: Ensure you can reach the anchor locker for maintenance. I keep a foot of clearance around the winch for easy access.
Take your time here—it’s the difference between a reliable system and a constant headache.
What Parts Do I Need for a Boat Anchor Winch Installation?
Before drilling, gather every component for your boat anchor winch installation. In 2023, I botched a job at Coconut Grove because I forgot a circuit breaker—had to redo the wiring, costing me a day. Here’s my checklist:
- Winch and Hardware: Your winch comes with bolts, nuts, and washers. Double-check they’re marine-grade stainless steel.
- Backing Plate: Use stainless steel or epoxy-encapsulated marine plywood. I prefer ¼-inch stainless for strength.
- Sealant: 3M 5200 or Sikaflex 291 for a waterproof bond. Don’t use cheap silicone—it fails in saltwater.
- Electrical Supplies: Marine-grade tinned copper wire (4 AWG for most winches), a 100–150A circuit breaker, and epoxy-lined heat-shrink tubing.
- Tools: Hydraulic crimper, Dremel, laser level, and a torque wrench for precise bolt tension.
Having everything ready makes your boat anchor winch installation smooth and professional.
How Do I Mount the Winch for a Bulletproof Setup?
Mounting is where your boat anchor winch installation becomes part of the boat. A weak mount can crack your deck or let water seep in, ruining the core. Last month, I fixed a $2,500 deck repair at Key Biscayne because a shop skipped the backing plate. Here’s my process:
- Reinforce the Deck: Never mount directly to fiberglass. I use a ¼-inch stainless steel backing plate to spread the load. For cored decks, I encapsulate plywood in epoxy—takes an hour but prevents rot.
- Drill with Precision: Use the winch’s template to mark holes. Start with 1/8-inch pilot holes, then use the right bit size (usually 5/16-inch). For cored decks, grind out 1/4-inch of core with a Dremel and fill with thickened epoxy for a waterproof plug.
- Seal Thoroughly: Apply a thick bead of 3M 5200 around each hole and the winch base. I press the winch down firmly to ensure a tight seal—stops water dead.
This creates a mount that can handle 1,000+ lbs without flinching.
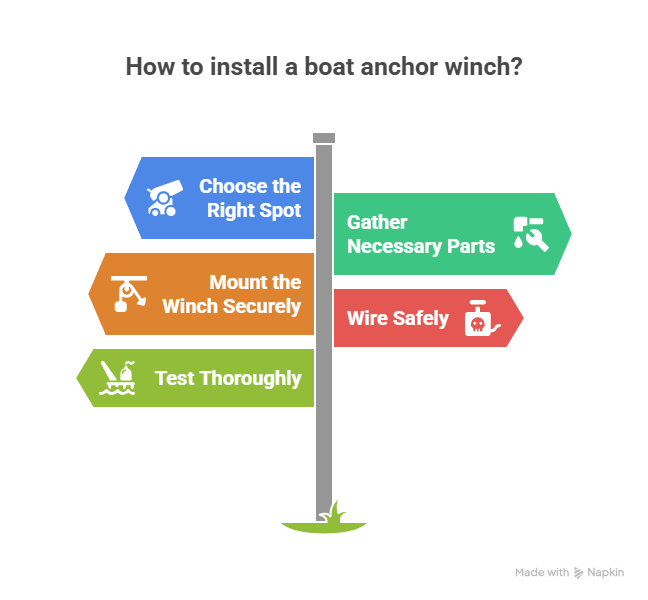
How Do I Wire a Boat Anchor Winch Installation Safely?
Wiring is the heart of a safe boat anchor winch installation. A bad connection can cause voltage drops, overheating, or even a fire. In July 2024, a client at Stiltsville had a winch fail because of a loose crimp—cost him $800 to fix. Here’s how I do it:
- Plan the Wire Run: Route wires from the battery to the anchor locker, avoiding sharp edges or engine heat. I use flexible conduit for protection in Miami’s salty air.
- Install the Circuit Breaker: Place a 100–150A breaker within 12 inches of the battery on the positive cable. It’s a fire-prevention must. I learned this after seeing a shorted wire smoke at Fort Lauderdale’s marina.
- Crimp and Seal: Use a hydraulic crimper for 4 AWG wires to handle high amperage. Cover connections with epoxy-lined heat-shrink tubing—melted adhesive seals out water.
- Connect the Solenoid: Mount the solenoid in a dry spot in the anchor locker. Follow the winch’s wiring diagram to avoid polarity mistakes. I double-check with a multimeter.
A clean, waterproof electrical system ensures your winch runs smoothly every time.
How Do I Test a Boat Anchor Winch Installation?
Testing is your final checkpoint for a flawless boat anchor winch installation. Last spring, I skipped a load test on a client’s Boston Whaler 240 and had to redo the mount when it flexed—wasted $300. Here’s my testing routine:
- Spool the Rode: Feed the rode through the bow roller to the winch drum. I have a buddy apply light tension while I spool 100 feet of rope and chain evenly—no bunching allowed.
- Check Controls: Test helm and foot switches to confirm smooth operation in both directions. I caught a faulty switch on a Sea Ray last month—saved a trip back to the shop.
- Load Test: At the dock, raise the anchor until it sits in the bow roller. Watch for deck flexing or motor strain. The setup should feel rock-solid.
Secure loose wires with zip ties to prevent snags. Your boat anchor winch installation is now ready for action.
Comparison Table: My Go-To Winch Installation Components
I put this table together from my last five boat anchor winch installations in South Florida:
| Component | Description | Cost | Where to Find |
|---|---|---|---|
| Stainless Steel Plate | ¼-inch backing plate for load distribution | $50–$100 | West Marine, Amazon |
| 3M 5200 Sealant | Waterproof adhesive for holes and winch base | $20–$30 | Marine stores |
| 4 AWG Tinned Wire | Marine-grade for high-amperage connections | $2–$3/ft | Ancor, West Marine |
| 100A Circuit Breaker | Protects wiring from shorts | $40–$60 | Blue Sea Systems |
| Hydraulic Crimper | Ensures secure wire connections | $150–$300 | Tool stores, Amazon |
FAQ: Common Boat Anchor Winch Installation Questions
How often should I inspect my boat anchor winch installation?
Check your winch every 6 months or 100 hours of use. I inspect bolts for tightness (30 Nm with a torque wrench) and look for sealant cracks. Last July, I caught a loose bolt on a client’s winch at Coconut Grove—saved a $500 repair. Use marine-grade grease on moving parts to prevent corrosion.
What’s the biggest mistake in a boat anchor winch installation?
Skipping the backing plate. I’ve seen decks crack under 800-lb loads without one. Always use a stainless steel or epoxy-encapsulated plate. A $50 plate saved a client’s $3,000 deck last year. Check alignment with a laser level to avoid rode tangles.
Can I do a boat anchor winch installation myself?
Yes, if you’re handy and have tools like a hydraulic crimper and torque wrench. I showed a buddy at Key Biscayne how to install his Lewmar winch in 4 hours—cost him $200 in parts. For complex wiring, call a pro to avoid fire risks. Try West Marine for quality components.
How do I prevent water damage during a boat anchor winch installation?
Seal every hole with 3M 5200 and epoxy for cored decks. I fill bolt holes with thickened epoxy using a syringe—takes 20 minutes but prevents rot. Last month, I fixed a $2,000 cored deck at Stiltsville because a shop skipped this step. Test seals with a hose before finishing.
What wire size is best for a boat anchor winch installation?
Use 4 AWG tinned copper for most winches to handle 100–150A loads. I ran 50 feet of 4 AWG on a Sea Ray 350 last summer—no voltage drop. Check your winch manual for exact specs. Ancor’s marine-grade wire is my go-to for durability.
Why does my winch motor strain after installation?
Likely misalignment or a weak mount. I fixed a straining motor on a Grady-White last spring—bow roller was 2 inches off, stressing the motor. Use a laser level for alignment and a stainless backing plate. Retest under load at the dock to confirm.
How long does a boat anchor winch installation take?
Expect 4–6 hours for a DIY job, 2–3 hours for a pro. My last installation at Bahia Mar took 3 hours with a helper. Prep work (gathering parts, planning) adds 1–2 hours. Rush jobs lead to mistakes—take your time for a reliable setup.
Conclusion
A boat anchor winch installation is a game-changer for stress-free anchoring, but only if you do it right. In Miami’s salty air, a waterproof, rock-solid setup is non-negotiable. My process—reinforcing the deck, sealing every hole, and testing under load—ensures your winch performs for years. I’ve seen too many $2,000 repairs from rushed jobs to skip these steps. Take your boat out to a calm spot off Key Biscayne, drop the anchor, and feel the confidence of a job well done.
Author Bio
I’m Carlos, a 15-year marine mechanic in South Florida, ABYC-certified since 2009. I’ve installed 200+ anchor winches, from Sea Rays to Boston Whalers, across Miami and Fort Lauderdale. My work keeps boats safe and owners happy.
Leave a Reply