
Sooner or later, it happens. You’re washing the boat and you find it—a spider crack near a cleat, a ding on the keel from that sandbar you thought you’d clear, or a soft spot on the deck. I’ve been fixing boats with epoxy down here in South Florida for over 15 years, and I can tell you that ignoring a small fiberglass issue is the fastest way to create a big, expensive one.
Water is the enemy. It gets into the smallest cracks and wreaks havoc, leading to delamination and structural problems that can cost you a fortune and take your boat out of commission for weeks. But here’s the thing: you can often fix it yourself, and with epoxy, you can make the repair stronger than the original hull ever was. I’m not kidding.
This guide isn’t a textbook. It’s how we do it in the shop to make sure a repair is permanent. We’re going to cover how to properly size up the damage, why epoxy is the only way to go for structural fixes, how to prep the surface so it actually sticks, and how to finish it so it looks like it never happened.
Forget the quick patches. Let’s get into doing it the right way.
Table of Contents
Sizing Up the Damage: Why Epoxy is the Answer
Before you touch a single tool, you’ve got to play detective. That little crack you see on the surface might be the tip of the iceberg. The only way to know for sure is to grab a grinder and carefully remove the gelcoat and surface layers around the damage. You’re looking for the full extent of the problem—hidden moisture, soft core material, or cracks that run deeper than they look. A good repair starts with knowing exactly what you’re fixing.
When it comes to the fix itself, there’s only one choice for a permanent, structural repair: epoxy. Guys ask me all the time if they can just use the cheaper polyester resin. For a serious repair, my answer is always no. A guy named Ray at Bahia Mar tried to save a few bucks using polyester on a stringer repair a few years back. A year later, it had delaminated. He paid twice.
I use WEST SYSTEM® 105 in my shop. Here’s why epoxy is king:
- It Sticks to Anything: Epoxy creates an incredible mechanical bond, especially to older, cured fiberglass. Polyester resin doesn’t.
- It Doesn’t Shrink: Epoxy shrinks very little as it cures, meaning your repair stays tight and strong.
- It’s 100% Waterproof: Unlike other resins, epoxy is a fantastic moisture barrier, which is exactly what you want on a boat.
I put this table together to show guys the real difference. It’s not just about price.
| Feature | Epoxy Resin | Polyester Resin | Vinylester Resin |
|---|---|---|---|
| Adhesion Strength | Excellent, bonds to almost anything. | Fair, bonds poorly to cured parts. | Good, better than polyester. |
| Water Resistance | Superior. Creates a true barrier. | Poor. Can absorb water over time. | Good, but not as good as epoxy. |
| Shrinkage | Very Low (<2%) | High (5-8%) | Moderate (4-6%) |
| Finish | Must be painted. Gelcoat won’t stick. | Can be finished with gelcoat. | Can be finished with gelcoat. |
The takeaway is simple: for a repair that has to last and hold up to the abuse we put our boats through, epoxy is the only professional choice.
Prep Work is Everything. Don’t Skip It.
I can’t say this enough: the strength of your repair is 90% in the preparation. You can use the best epoxy in the world, but if the surface isn’t prepped right, it will fail.
First, the area has to be spotlessly clean and bone dry. Wash it with soap and water, rinse it well, and then let it dry completely. If you trap any moisture under that epoxy, you’re asking for trouble.
Next, you have to rough up the surface to give the epoxy something to bite into. I use 50-grit sandpaper on a grinder or sander. You want to sand the entire repair area and feather the edges out into the good fiberglass. Every single glossy spot needs to be gone. You’re creating a mechanical key for the epoxy to lock into.
Finally, mask everything off. Use good painter’s tape and plastic sheeting to protect the surrounding areas from epoxy drips and sanding dust. It’ll save you hours of cleanup later. A clean workspace is a safe workspace.
Mixing and Laying Up: The Real Work
This is where the magic happens. Mixing epoxy is a chemical reaction, and you have to be precise. This isn’t baking a cake; you can’t just eyeball it. Use the pumps that come with the epoxy system or measure it carefully by weight or volume according to the manufacturer’s instructions. Mix it thoroughly for at least two minutes, scraping the sides and bottom of the cup.
Now, let’s talk about the cloth. You’re going to use a woven fiberglass cloth, like biaxial cloth. A critical rule: Never, ever use chopped strand mat (CSM) with epoxy. CSM has a binder that only dissolves in polyester resin. With epoxy, it stays solid and creates a weak, brittle repair.
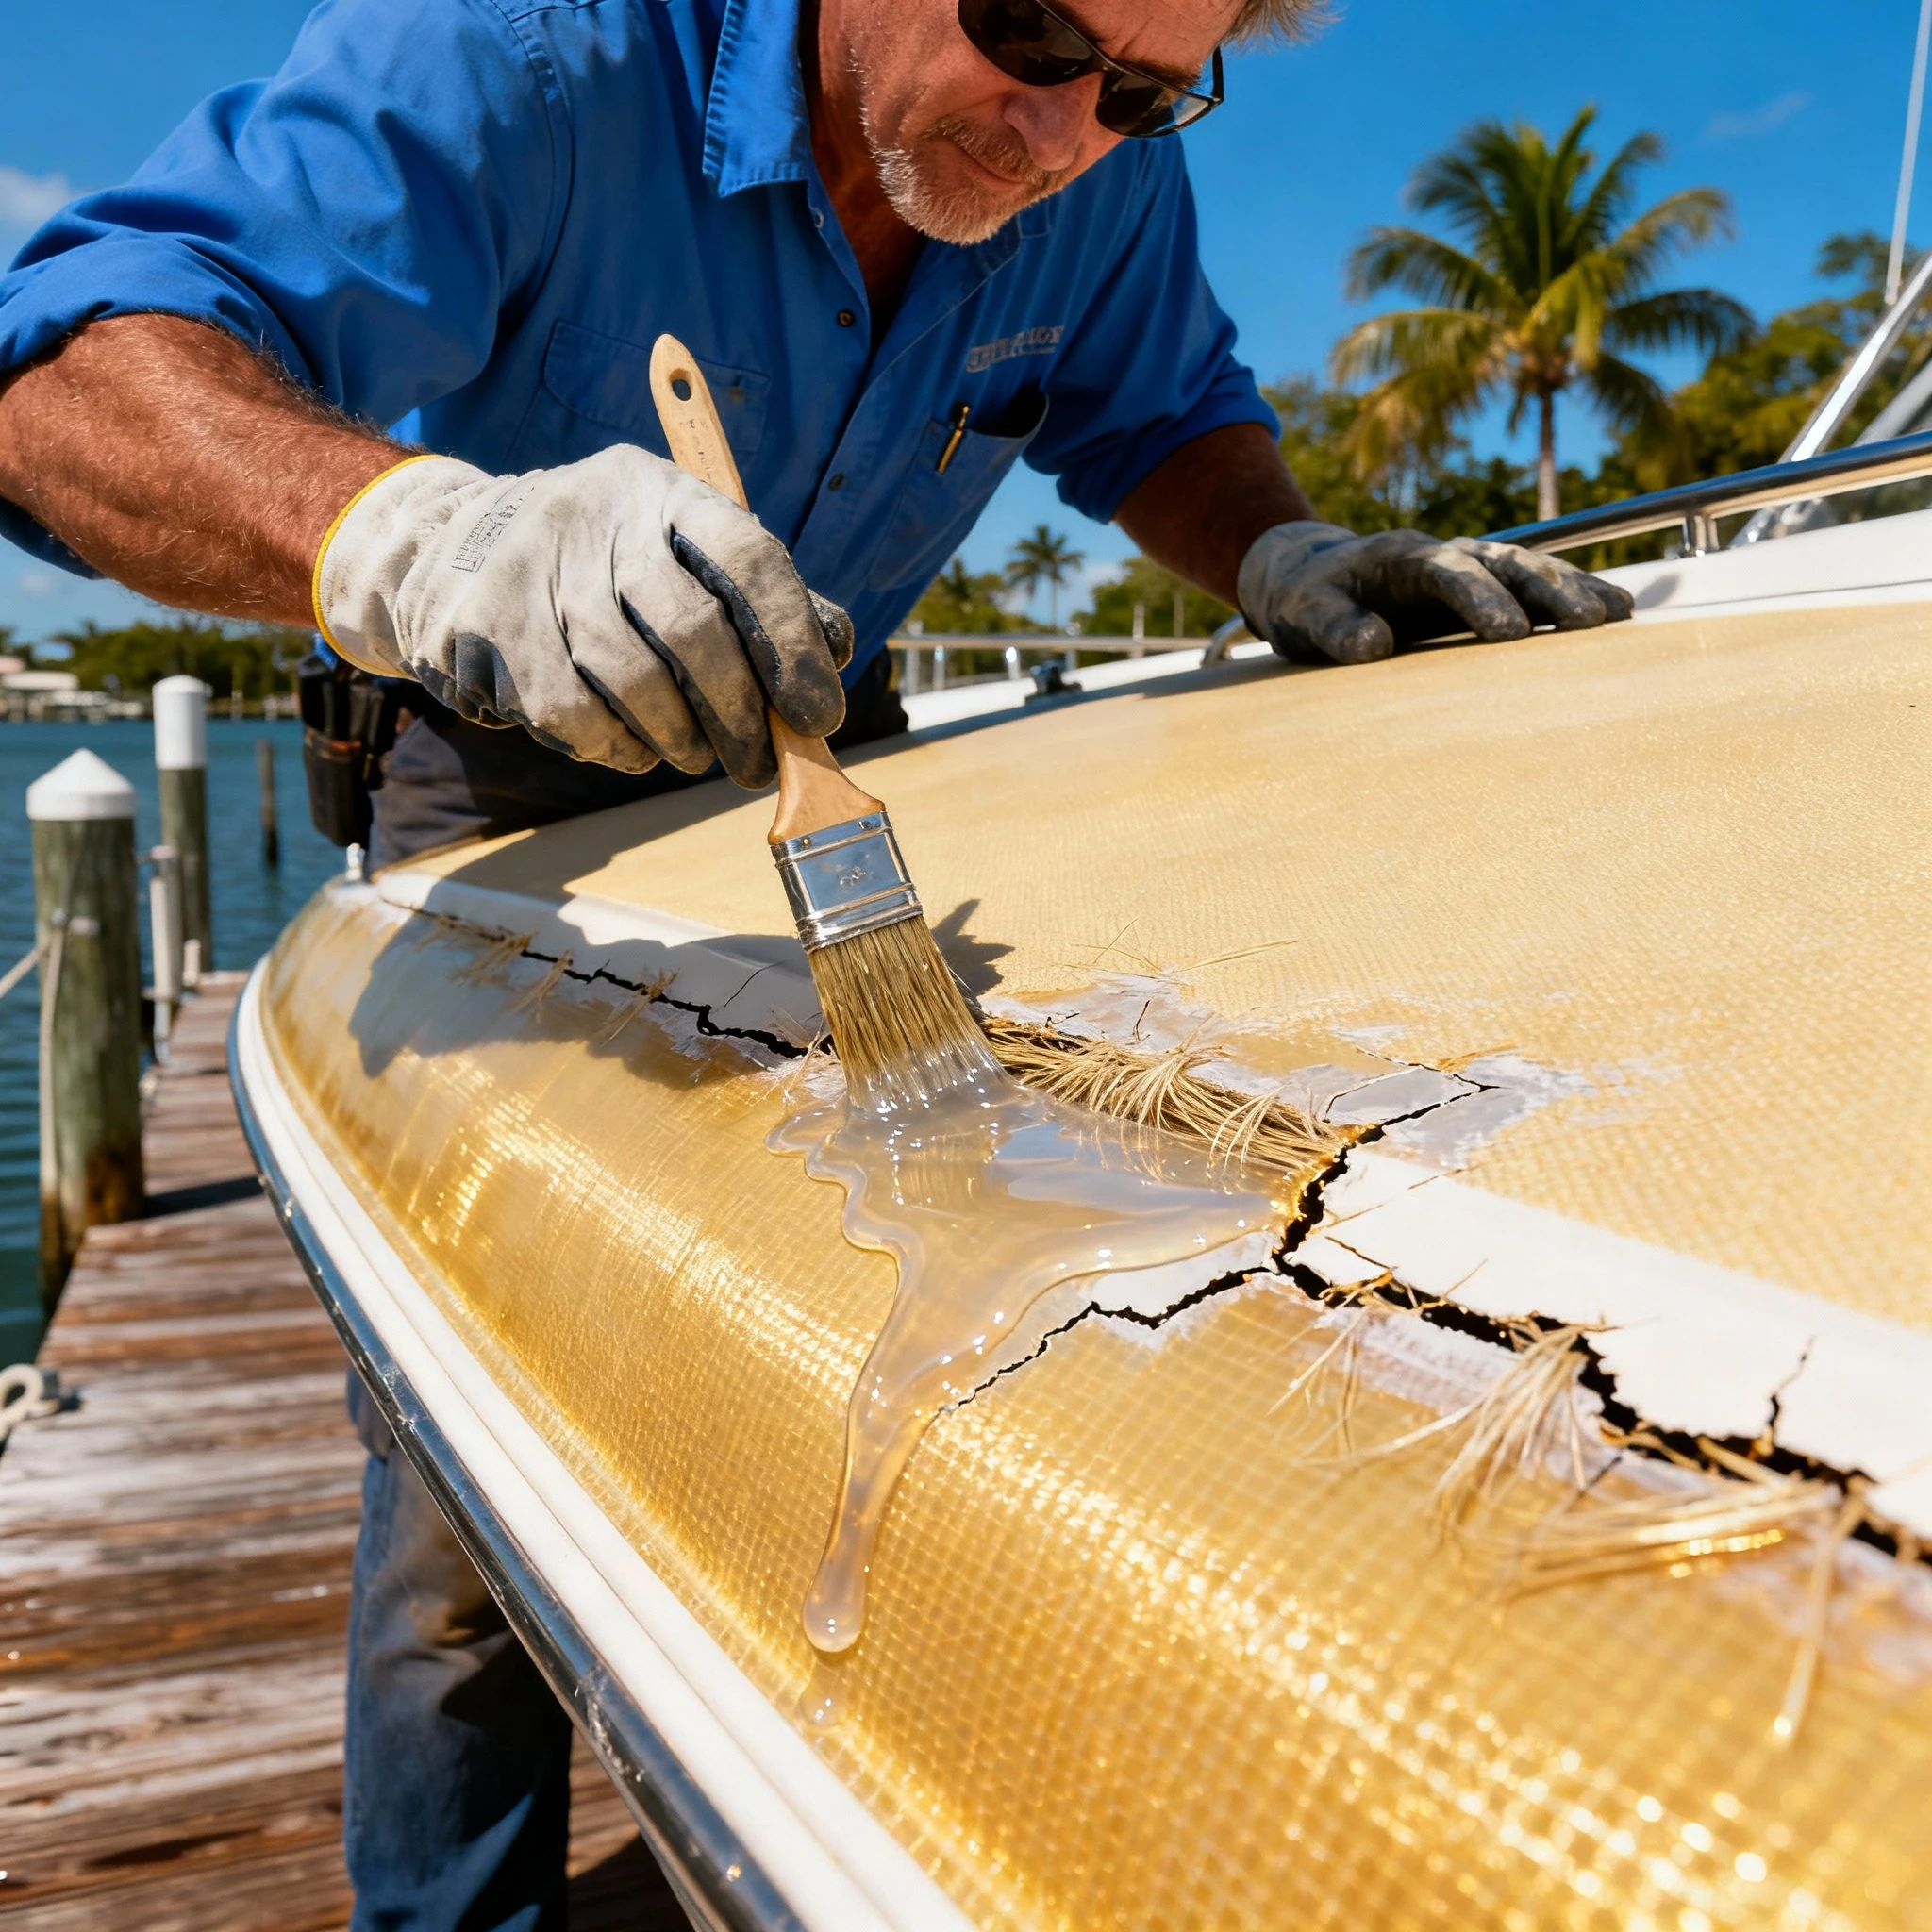
- For small dings and cracks: Grind out the damage, paint a thin coat of mixed epoxy on the surface, lay a piece of cloth over it, and then “wet it out” with more epoxy using a plastic spreader until the cloth is fully saturated and transparent.
- For big holes or structural damage: This is more involved. You’ll grind the edges of the hole to a taper (we call it a scarf) with at least a 12:1 ratio (so, for a 1/2-inch thick hull, your taper should be 6 inches wide). Then you’ll cut multiple pieces of cloth, starting with a small piece for the center and getting progressively larger. Layer them in, wetting out each piece completely, until you’ve built the thickness back up.
Making It Look Good: Sanding and Painting
Once your epoxy has fully cured (give it at least 24 hours, or whatever the instructions say), the structural work is done. But now it looks like, well, a repair.
You’ll sand the cured epoxy smooth, starting with a coarse grit like 80-grit and working your way up to finer grits. If you have any low spots, you can mix up some epoxy with a fairing filler (like microballoons) to create a lightweight putty to smooth things out.
And now for the most important rule of finishing: You cannot apply gelcoat over cured epoxy. I will say it again. Gelcoat will not stick to epoxy. It will peel right off. I see this mistake cost people thousands. If you use epoxy for the repair, you must finish the job with a good two-part marine paint system. Prime it with an epoxy-compatible primer, then topcoat it with a quality marine paint that matches your hull color.
Don’t Be a Slob: Safety and Your Gear
Working with this stuff requires respect. It’s messy and the chemicals are no joke. Always protect yourself and the environment.
- Safety First: Always wear nitrile gloves (epoxy will go right through latex), safety glasses, and a respirator, especially when you’re grinding or sanding. Work in a well-ventilated area. You don’t want to be breathing this stuff in.
- Protect the Water: We’re boaters. Let’s not trash our own playground. Have a plan for your waste. Cured epoxy is inert, but uncured resin and hardener are hazardous waste. Don’t let it get in the water.
- Essential Tools: Here’s a quick list of what I always have on hand for an epoxy job:
- WEST SYSTEM® 105 Epoxy and the right hardener for the temperature
- Mixing cups and stir sticks
- Plastic spreaders
- Nitrile gloves and safety glasses
- A respirator
- 50-grit and 80-grit sandpaper/discs
- A grinder/sander
- Woven fiberglass cloth (biaxial is my go-to)
- Fillers (colloidal silica for thickening, microballoons for fairing)
- Acetone for cleanup (use it carefully)
FAQ: Questions I Hear at the Dock
Is epoxy really that much better than the cheaper polyester repair kits?
For small, non-structural cosmetic dings above the waterline, a polyester kit is fine. But for anything structural, below the waterline, or a repair you only want to do once, epoxy is the only way to go. Its superior adhesion and water resistance are worth every extra penny.
Can I do an epoxy repair in the hot Florida sun?
I wouldn’t. Direct sun will cause the epoxy to cure way too fast, making it brittle and hard to work with. It can also cause “amine blush,” a waxy film that you have to wash off before painting. Always work in the shade or rig up a tarp. If it’s really hot, use a slow hardener to give yourself more working time.
How long after the repair can I put my boat back in the water?
Read the instructions on your epoxy system. Most epoxies need about 24 hours to get to an initial cure where you can sand them, but they won’t reach their full strength and waterproof properties for several days, sometimes up to a week depending on the temperature. Rushing it is a bad idea. I usually tell my clients to wait a solid 5-7 days.
What about those quick-fix epoxy putty sticks? Are they any good?
They have their place. They’re great for emergency, temporary fixes to stop a leak and get you home. But they are not a substitute for a proper structural repair with fiberglass cloth and liquid epoxy. I keep one in my toolbox for emergencies, but I would never use it for a permanent repair on a customer’s boat.
I’ve heard about “blush.” What is it and how do I deal with it?
Amine blush is a waxy byproduct that can form on the surface of some epoxies as they cure, especially in cool, humid conditions. You can’t see it, but it will prevent paint or another coat of epoxy from sticking properly. It’s easy to deal with: just wash the cured epoxy with plain water and a scrub pad before you do any sanding. The blush is water-soluble. Then let it dry completely before you proceed.
Leave a Reply