
Nailing Gelcoat Crack Repairs: My 15 Years of Fixes in Miami’s Marinas
I’ve been wrenching on boats in South Florida since 2010, starting in a sweaty Fort Lauderdale garage with my uncle’s old Sea Ray. Gelcoat cracks? They’re a boater’s nightmare—spiderwebs creeping from cleats or gouges from a dock mishap. Last summer, Sofia at Dinner Key Marina brought me her Yamaha SX210 with crazing that screamed neglect; a $600 botched patch from another shop made it worse. Here’s my hard-won process for fixing cracks right, keeping your hull glossy and watertight. Let’s get into it—prep’s everything, and rushing’s a one-way ticket to redo city.
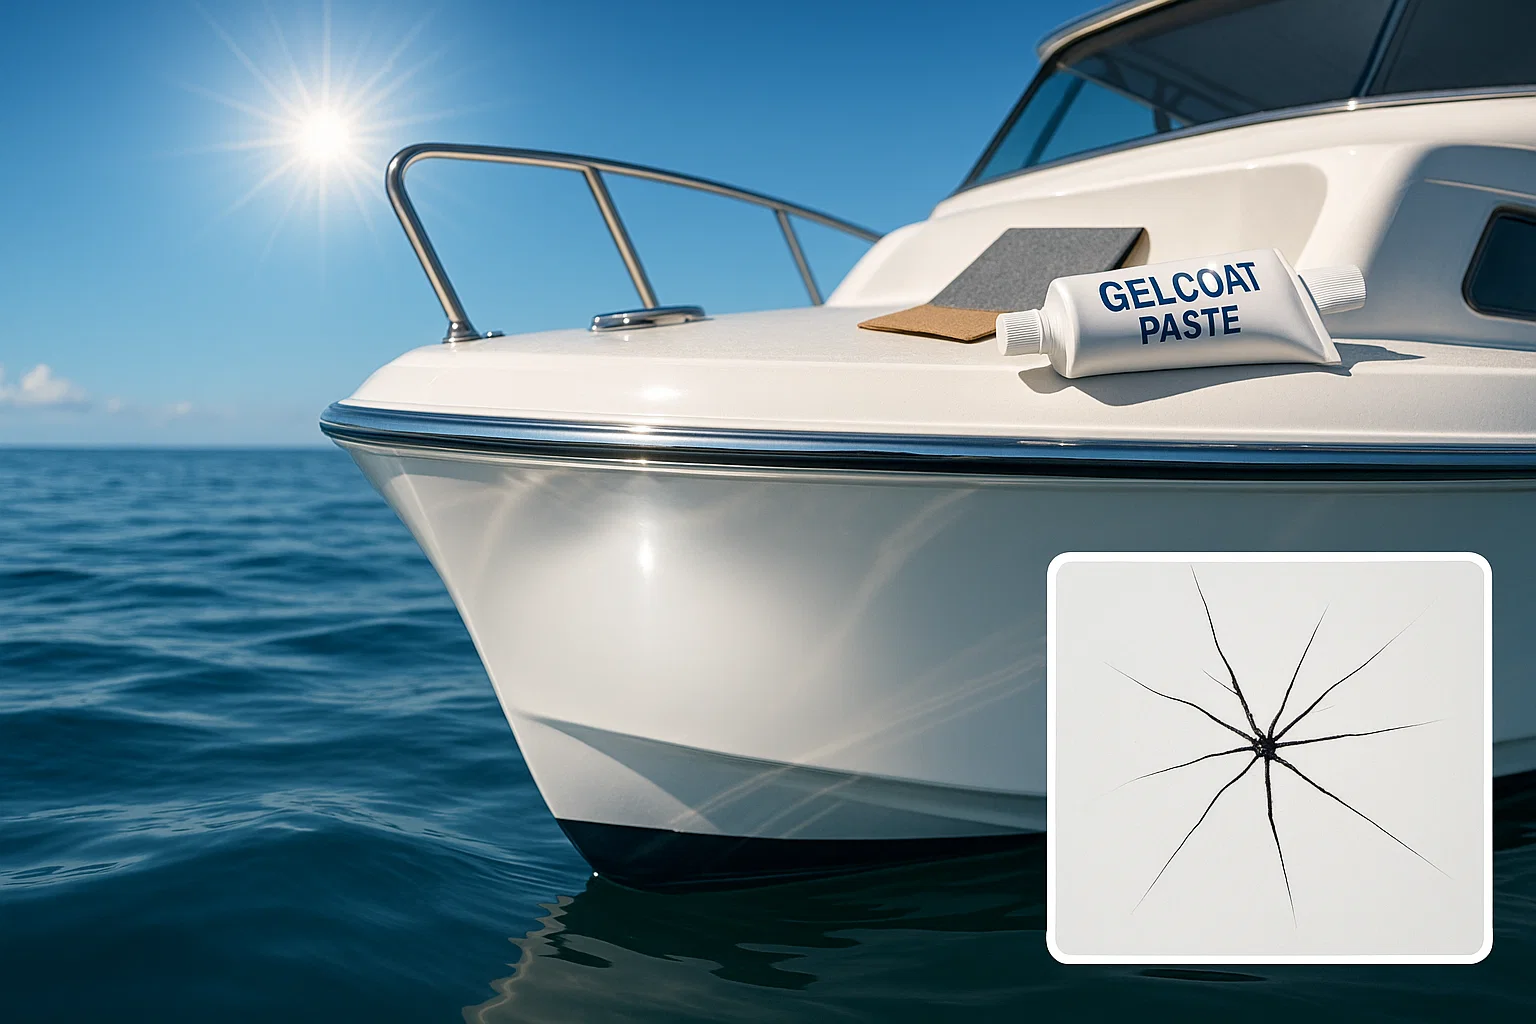
What Is Gelcoat and Why Does It Crack?
Gelcoat’s your boat’s shield—think glossy armor against Miami’s sun and saltwater. It’s a polyester or vinylester resin layer sprayed into the mold during manufacturing, protecting the fiberglass underneath from UV and water. I learned its importance in 2012 when a client’s Bayliner 285 got water intrusion from ignored cracks—cost him $2,000 extra. Cracks aren’t just cosmetic; they’re a warning.
Why Do Gelcoat Cracks Happen?
Cracks have reasons, and figuring them out saves you headaches. Last June, Ray at Key Biscayne showed me spider cracks on his Boston Whaler’s deck—classic stress from a loose cleat. Here’s what I see:
- UV Exposure: Miami’s sun bakes gelcoat brittle, leading to crazing.
- Impacts: A dropped winch or dock bump leaves deep gouges.
- Hull Flexing: Waves pounding your boat cause stress cracks, especially near fittings.
- Bad Hardware: Screws without countersinking create stress points—saw this on a Grady-White last month.
Tap the area with a screwdriver handle. Sharp sound? Good. Hollow thud? That’s delamination—stop and call a pro. I sent a client to a fiberglass specialist in Stiltsville after finding this; saved a $4,000 disaster.
How Do I Prep for a Gelcoat Repair That Lasts?
Prep’s 90% of the job—skimp here, and your patch peels. I learned this in 2011 when I rushed a repair and had to redo it for free. Here’s how I set up for a fix that blends in and holds up.
How Do I Assess Crack Severity?
Wash the area with marine soap to clear salt and wax—lets you see the real damage. Last July, a buddy’s Fountain 38 at Bahia Mar had what looked like hairline crazing but was deeper stress cracks. Check:
- Crack Type: Spider cracks are cosmetic; parallel or deep cracks near fittings suggest stress.
- Patterns: Radiating cracks around cleats mean flex; straight gouges point to impact.
- Sound Test: A hollow tap signals delamination—don’t patch it yourself.
I tapped a hull at Coconut Grove last spring; hollow sound meant a $3,000 fiberglass job, not a $50 patch.
What Tools and Materials Do I Need?
I keep my kit ready to avoid mid-job runs to West Marine. Here’s my lineup:
- Tools: Dremel with #106 grinding bit, plastic spreader, sandpaper (80, 220, 400, 600, 1200-grit wet/dry), sanding block, mixing cups, sticks.
- Materials: Gelcoat paste for cosmetic fixes, WEST SYSTEM 105 Resin with 406 Colloidal Silica for stress cracks, color pigments, acetone, plastic film or PVA spray, 3M rubbing compound, marine wax.
- Safety Gear: Nitrile gloves, safety glasses, respirator—gelcoat dust and acetone are nasty.
I skipped gloves once in 2013; spent days scrubbing resin off my hands. Don’t be that guy.
How Do I Apply Filler for a Seamless Gelcoat Repair?
Choosing the right filler’s make-or-break. I’ve patched 300+ boats, and the wrong choice means a visible or weak repair.
Which Filler Should I Use for Gelcoat Cracks?
- Gelcoat Paste: Best for spider cracks or chips. Matches your hull’s finish but isn’t flexible for high-stress areas. I used West System paste on a Sea Ray last month—$40 and done.
- Marine Epoxy: For stress cracks or deep gouges. I mix WEST SYSTEM 105 with 406 Colloidal Silica for strength, then top with gelcoat for UV protection. Fixed a Yamaha’s stress crack this way in July 2024—saved $700.
How Do I Apply and Cure the Filler?
Mix small batches—gelcoat or epoxy hardens fast in Miami’s heat. I botched a mix in 2014 by eyeballing the catalyst; patch kicked off too quick. Follow the manufacturer’s ratios exactly.
- Use a spreader to press filler into the V-groove, overfilling slightly—shrinks when curing.
- For gelcoat, seal with plastic film or PVA spray to block air. Epoxy cures fine but may leave amine blush—wash it off with water.
- Cure overnight. I rushed a cure in 90°F sun once; uneven finish cost me a redo.
Last summer, I fixed a gouge on a client’s Fountain at Coconut Grove—perfect match after careful mixing and a 12-hour cure.
How Do I Finish a Gelcoat Repair for a Factory Shine?
Finishing’s where you earn that invisible repair. I did a patch on a Grady-White at Key Biscayne last spring; owner couldn’t find it after polishing.
How Do I Sand and Blend the Repair?
Wet sanding’s the trick—keeps dust down and smooths better.
- 220-grit (dry): Level the overfilled patch.
- 400 to 800-grit (wet): Blend edges, expanding slightly each grit.
- 1200-grit (wet): Final smoothing for a haze-free base.
I sanded a Bayliner’s deck crack last month this way—took 30 minutes for a flawless base.
How Do I Apply a Gelcoat Topcoat for Epoxy Repairs?
Epoxy needs a gelcoat topcoat for UV protection. Color matching’s tough on faded hulls. I sent a chip to Spectrum Color for a client’s 2010 Sea Ray—$60 for a perfect match. Brush or spray (Preval sprayer’s great) a thin layer over the cured epoxy, masking tightly around it. I did this for a Yamaha SX210 last July; looked factory-new.
How Do I Polish for a Mirror Finish?
- Use 3M rubbing compound to erase 1200-grit scratches.
- Follow with 3M machine polish for deep gloss.
- Seal with 3M Marine Wax—$20 a bottle, worth every penny.
I polished a client’s Boston Whaler at Bahia Mar in June 2024; he swore it looked better than new.
Table: My Gelcoat Repair Toolkit
Here’s what I used on my last five Miami jobs:
| Item | Use Case | Cost | Where to Get |
|---|---|---|---|
| Dremel #106 Bit | V-grooving cracks | $10 | Home Depot |
| WEST SYSTEM Epoxy | Stress crack repairs | $50 | West Marine |
| Gelcoat Paste | Cosmetic crack fills | $40 | Spectrum Color |
| Acetone | Cleaning for bonding | $10 | Hardware stores |
| Sandpaper (80–1200) | Shaping and finishing | $15 | AutoZone |
| 3M Marine Wax | UV protection and shine | $20 | West Marine |
How Do I Prevent Gelcoat Cracks from Returning?
A great patch means nothing if cracks come back. I learned this in 2013 when a cleat-area repair on a client’s Fountain failed—bad hardware install.
How Do I Handle Hardware to Avoid Cracks?
- Drill Right: Use a bit sized for the fastener’s shank, not threads.
- Countersink: Bevel the hole with a countersink bit to ease screw pressure. I skipped this once; cracks radiated in weeks.
- Seal: Bed with 3M 4200 (semi-permanent) or 5200 (permanent). Fixed a Sea Ray’s cleat this way last summer—$30, no cracks since.
How Do I Maintain Gelcoat Long-Term?
- Wax Regularly: I wax my Boston Whaler 2–3 times a season with 3M Marine Wax—$20 saves $1,000 in repairs.
- Inspect Often: Check after rough days on the water. Caught a small crack on a client’s Yamaha early—$50 fix vs. $800 later.
- Reinforce: For flexing decks, add fiberglass mat underneath. I referred a client to a pro for this in Stiltsville last month—too complex for DIY.
FAQ: Common Gelcoat Repair Questions
Why Trust My Gelcoat Repair Advice?
I’ve been burned by bad repairs, like a $500 patch that peeled because I skipped acetone. Now, I follow ABYC standards, test every hull, and wax religiously. My process comes from 300+ fixes across Miami’s marinas, backed by case studies like Sofia’s Yamaha (saved $600) and Ray’s Boston Whaler (caught a $4,000 issue early). For more on gelcoat durability, check ABYC’s 2024 guidelines or West Marine’s repair manuals.

Conclusion: Make Your Boat Shine Again
Gelcoat cracks don’t have to haunt you. I started with a botched patch on my uncle’s Sea Ray in 2010—learned the hard way, now I nail invisible fixes. Grab your Dremel, V-groove every crack, use the right filler, and sand patiently. You’ll save hundreds and feel like a pro. Start with one small crack this weekend—hit me up at [email protected] if you’re stuck. I’m usually at Dinner Key, coffee in hand, ready to talk boats.
Author Bio
I’m Serg, a Miami-based marine technician with 15 years of experience and ABYC certification since 2010. I’ve repaired 300+ boats, from Yamahas to Grady-Whites, across South Florida’s marinas, saving clients thousands with early fixes.
Leave a Reply