
Key Takeaways
Don’t let engine trouble ruin your day on the water. By understanding the most common failure points and how to address them, you can turn a potential crisis into a manageable fix. These key insights will help you diagnose and solve the vast majority of engine issues with confidence.
- Master the initial triage by always checking your kill switch and neutral safety switch first. These two simple items are the most common culprits for an engine that cranks but won’t start.
- Prioritize fuel system health because clogged fuel filters are the #1 cause of sputtering engines and power loss. Learn to change your filters and always carry spares on board.
- Combat electrical gremlins by aggressively fighting corrosion. Regularly clean your battery terminals and main ground connections to shiny metal, as corrosion is the silent killer of marine electrical systems.
- Prevent catastrophic overheating by treating the raw water impeller as a critical wear item. Inspect it regularly and know how to replace it, as a failure here can quickly destroy your engine.
- React instantly to critical alarms like those for high temperature or low oil pressure. These are not suggestions—they are commands to shut the engine down immediately to prevent severe, costly damage.
- Win the war against corrosion by inspecting and replacing your sacrificial anodes (zincs) annually. These inexpensive parts are your engine’s first and best defense against long-term decay in a harsh marine environment.
Dive into the full guide below for step-by-step instructions that will empower you to handle any engine issue like a pro.
Introduction
It’s the one sound no boater ever wants to hear: the abrupt transition from a steady thrum to that gut-wrenching silence.
When you’re miles from the dock, a dead engine triggers immediate panic. Your mind races through worst-case scenarios, expensive repair bills, and the long call to a tow service.
But what if you could replace that panic with a calm, confident plan? The reality is that the vast majority of engine failures aren’t catastrophic. They’re often simple issues that can be diagnosed and even fixed on the spot with the right knowledge.
This guide is designed to give you that knowledge. We’re cutting through the complexity to give you a clear, expert-led workflow for troubleshooting the most common failures. You will learn to:
- Perform a rapid, onboard triage to rule out simple oversights.
- Systematically diagnose issues within the “big three” systems: fuel, electrical, and cooling.
- Identify the early warning signs of mechanical trouble before it leaves you stranded.
We’re going to transform that overwhelming feeling into a methodical, step-by-step process, starting with the simple checks that solve most problems before you ever have to open a toolbox.
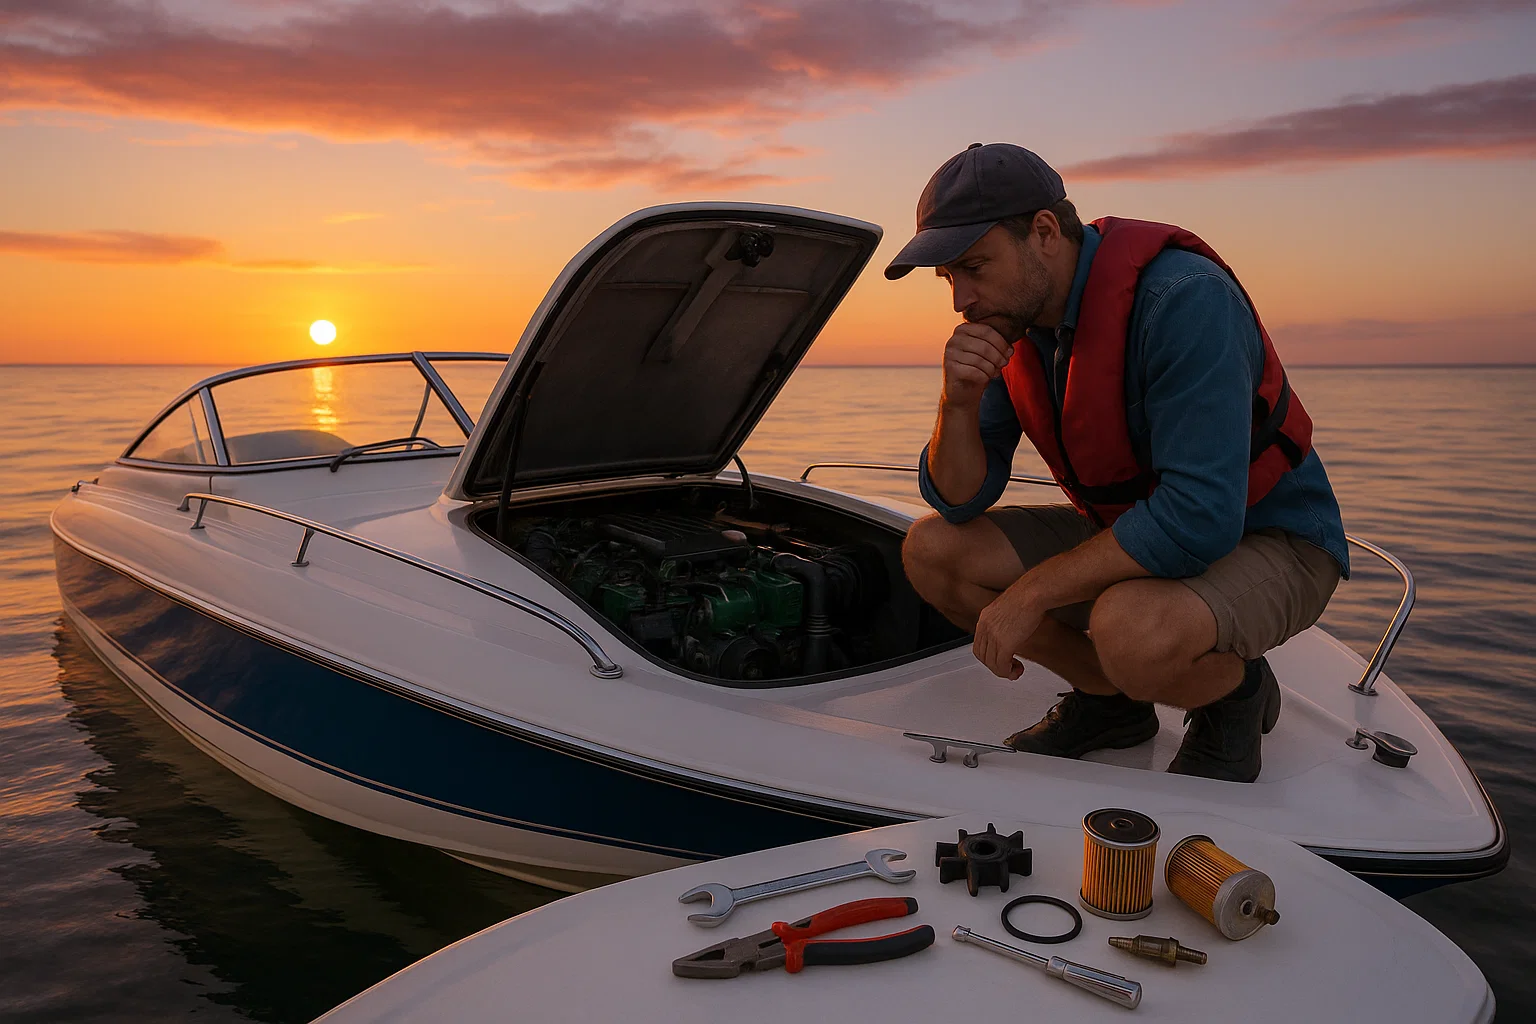
The Initial Onboard Triage: Your First Response Checklist
When your engine suddenly goes silent, the first instinct is to panic. Resist it.
Before you dive deep into the engine compartment, a calm, methodical approach can often solve the problem in minutes. This is your first line of defense against a ruined day on the water.
Step 1: Verify the Basics (The “Is it plugged in?” moment)
Think simple before you think complicated. These common oversights account for a huge number of no-start situations.
- Safety First: Get the vessel safely anchored or moored. Never perform checks while drifting.
- Kill Switch Check: Is the safety lanyard (kill switch) properly attached? This is the single most common reason for an engine that cranks but won’t fire. Check it, then check it again.
- Gear Position: Confirm the shifter is firmly in neutral. A built-in safety switch prevents the engine from starting in gear.
- Ignition & Battery Switch: Ensure the key is on and the main battery selector is pointing to the correct battery bank (“1,” “2,” or “Both”).
Step 2: Quick Fuel and Electrical Scan
If the basics are covered, your next stop is the two things every engine needs: fuel and spark.
- Visual Fuel Check: Don’t blindly trust the gauge. Gauges fail. If possible, visually inspect the tank level.
- Fuel Valve Position: Trace your fuel line from the tank and ensure the valve is fully open. It’s easy for a valve to get bumped closed.
- Primer Bulb Squeeze: If you have a primer bulb, give it a few squeezes. It should become firm. If it stays soft or mushy, you’re likely out of fuel or have an air leak.
- Battery Terminal Inspection: A quick glance at the battery can reveal the culprit. Look for obvious, heavy corrosion or a cable that has vibrated loose.
This simple, two-minute triage should become muscle memory. Mastering this checklist will solve the majority of sudden engine issues and give you the confidence to handle a breakdown like a pro.
Decoding Fuel System Failures: From Clogs to Contamination
The fuel system is the lifeblood of your engine and a primary source of common failures. Issues here often manifest as sputtering, a sudden loss of power, or a complete failure to start, turning a perfect day on the water into a stressful one.
Picture this: you push the throttle forward to get on plane, but instead of surging ahead, the engine bogs down and struggles. This is a classic sign of a fuel delivery problem.
Know the Telltale Warning Signs
Your engine will almost always give you clues before a fuel-related failure. Watch for these common symptoms:
- Engine Sputters or Surges: Inconsistent RPMs are a clear sign of an intermittent fuel supply.
- Loss of Power Under Load: The engine idles fine but can’t handle acceleration, indicating it’s being starved of fuel.
- Engine Cranks but Won’t Start: This frequently means there is no fuel reaching the cylinders.
- Excessive Smoke: Black smoke can point to an overly rich fuel mixture, while white smoke can sometimes be linked to water in the fuel.
The Most Common Culprits & Fixes
When you suspect a fuel problem, start with the most likely offenders. These four issues account for the vast majority of fuel system breakdowns.
- Clogged Fuel Filters: This is the number one fuel-related issue.
- Causes: Debris, water contamination leading to “diesel bug” (algae/bacteria), or sediment from the tank.
- Solution: Learn to locate and change both your primary (e.g., Racor) and secondary (on-engine) fuel filters. Always carry spares. It’s a non-negotiable for any boat owner.
- Air in the Fuel Lines:
- Causes: Loose fittings, cracked lines, or changing a filter without properly bleeding the system.
- Solution: Trace the fuel lines, tighten all connections, and bleed the engine according to the manufacturer’s procedure to purge the air.
- Contaminated or Stale Fuel:
- Causes: Water from a poor deck fill seal, condensation in a partially full tank, or old, degraded fuel.
- Solution: For long-term storage, keep tanks full and use a quality fuel stabilizer. If fuel is heavily contaminated, it may need to be professionally pumped and polished.
- Faulty Fuel Pump:
- Causes: Simple mechanical wear and tear or an electrical failure.
- Solution: Listen for the hum of an electric pump when you turn the key. A manual lift pump can be tested by hand. Often, replacement is the only fix.
Most fuel problems trace back to filters or fuel quality. Making filter inspection a core part of your pre-departure checklist is the single best way to ensure your engine runs reliably all season long.
Tackling Electrical Gremlins: Powering Your Engine and Your Confidence
Marine electrical systems live in a harsh, corrosive environment. Problems can range from simple loose connections to complete component failure, often leading to a dead-in-the-water scenario.
Understanding the clues your boat gives you is the first step toward a quick fix.
First-Step Electrical Diagnosis
Before you break out the tools, read the symptoms. Your engine is telling you exactly where to start looking.
- No Power Anywhere: If the entire boat is dark, the problem is at the source. Check your main battery, the main selector switch, or the primary fuse/breaker.
- Engine Clicks but Won’t Crank: This classic sound means the battery has just enough juice to activate the starter solenoid, but not enough to turn the heavy engine over. It’s a telltale sign of a weak battery or a poor connection.
- Engine Cranks Slowly: This points to a drained battery, high resistance from corroded cables, or a starter that’s beginning to fail.
- Intermittent Problems: Are your lights or gauges flickering? This almost always signals a loose wire or corrosion somewhere in that specific circuit.
The Most Common Electrical Villains
A few key culprits are responsible for the vast majority of electrical issues on the water. Focus on these first.
Corrosion is the silent killer of marine electrical systems. Salt, moisture, and electricity create a perfect storm for it.
- Hot Spots: Pay close attention to battery terminals, starter connections, and main ground wires.
- The Fix: Disconnect the battery. Use a wire brush to clean all terminals and connection points until they are shiny metal. Reconnect everything tightly and coat with a marine-grade corrosion inhibitor spray.
Weak or dead batteries are another frequent offender.
- Test It: Use a multimeter to check your battery’s voltage. A healthy, fully charged 12V battery should read 12.6 volts or higher.
- The Solution: If the voltage is low, try charging it. If it fails to hold a charge, it needs to be replaced. Having a separate, isolated starter battery is one of the best upgrades for reliability.
Tracing Charging and Circuit Faults
If your battery and connections are good, the problem lies with the system that supports them.
A faulty charging system (alternator) will leave you stranded.
- The Symptom: Your engine runs, but the battery voltage doesn’t increase to roughly 13.8-14.4V. The battery slowly dies as you run.
- The Check: First, inspect the alternator belt for proper tension and check that its wiring is clean and tight. If those are fine, the alternator itself has likely failed.
Blown fuses or tripped breakers are your system’s cry for help.
- The Cause: A fuse blows because a component is drawing too much current or there’s a short circuit.
- The Rule: Always replace a blown fuse with one of the exact same amperage. If it blows again immediately, you have a short circuit that needs to be carefully traced and repaired.
Mastering these electrical basics turns panic into a methodical process. Proactively cleaning your connections and knowing your battery’s health are the most powerful steps you can take to ensure your engine always has the power it needs.
Conquering Overheating: A Deep Dive into the Cooling System
An overheating engine can cause catastrophic damage very quickly.
That high-temp alarm you hear isn’t a suggestion. It’s an immediate, non-negotiable order to shut down the engine and figure out what’s wrong.
Know Your Cooling System
Understanding whether your engine is raw water or freshwater cooled is the first step in any diagnosis.
- Raw Water Cooled: The simplest design. It pulls in outside water, circulates it through the engine block to absorb heat, and then pushes it back overboard with the exhaust.
- Freshwater (Closed) Cooled: This works just like a car’s system. It uses a self-contained loop of coolant, which is then cooled by raw water via a component called a heat exchanger. This offers superior protection against internal corrosion.
Check Your Intake and Impeller First
Picture this: your temperature gauge is climbing steadily. Before you panic, know that the fix is often simple. These two spots account for the vast majority of overheating issues.
- Blocked Raw Water Intake: A plastic bag, a jellyfish, or a clump of seaweed sucked against your hull’s intake grate is the most frequent cause. Always check your sea strainer first—it’s designed to catch this very debris before it enters the engine.
- Failed Raw Water Impeller: The small rubber impeller inside your raw water pump is a critical wear item. It gets brittle with age and can shred without warning, especially if run dry for even a few seconds.
Digging into Deeper Blockages
If the basics check out, the problem may lie deeper within the system, often from long-term wear.
For closed-cooled systems, a thermostat stuck closed or a clogged heat exchanger can stop the flow of coolant, just like in your car.
On any engine type, exhaust manifolds and risers eventually become clogged with rust and scale, severely restricting water flow. This is a crucial preventative maintenance item that often requires inspection and replacement every 5-7 years in saltwater environments.
Proactively checking your sea strainer and knowing how to replace your impeller are the two most powerful actions you can take. Always carry a spare impeller and the necessary gaskets—it’s the cheapest insurance you can buy on the water.
Addressing Mechanical Issues: Oil, Transmission, and Corrosion
Beyond the big three of fuel, electrical, and cooling, a range of mechanical issues can quietly develop.
These problems often send clear warning signs—like strange noises, vibrations, or visible leaks—long before they become critical failures.
Oil Pressure and Leak Management
An oil pressure alarm is not a suggestion; it’s an order. Shut the engine down immediately to prevent catastrophic damage.
Most of the time, the cause is simply a low oil level. Check the dipstick (with the engine off) and top up if needed. If the oil level is fine, the problem could be a faulty sensor or, in a worst-case scenario, a failing oil pump that requires a mechanic.
To find leaks, clean the engine bay thoroughly so fresh drips are easy to spot.
- Common Leak Points: Valve cover gaskets, oil pan gaskets, and oil filter seals.
- The Fix: Minor drips can be monitored, but significant leaks need new gaskets or seals. Always double-check that your oil filter is properly tightened after a change.
Drivetrain and Transmission Health
Is your engine slow to engage or does it feel like the gears are slipping? The most common cause is low or dirty transmission fluid.
Check the fluid level and condition according to your owner’s manual. If it’s low, top it up with the specified fluid. If it looks dark or smells burnt, it’s time for a fluid change.
A transmission can also overheat if its dedicated cooler gets blocked, often by debris from a failed raw water impeller you dealt with earlier. Ensure this cooler has clear, adequate water flow.
Winning the War Against Corrosion
Corrosion is the constant enemy, attacking everything from your engine block and motor mounts to the nuts and bolts holding it all together.
Your first line of defense is your sacrificial anodes (zincs). These small, inexpensive parts are designed to dissolve over time, protecting your expensive engine and drive components. Inspect them annually and replace them when they are about half-gone.
For proactive protection, regularly rinse the engine with freshwater. Apply a marine-grade corrosion inhibitor spray, like Boeshield T-9, on metal parts, electrical connections, and bolt heads to create a protective barrier.
Proactively managing your oil, transmission fluid, and corrosion is the best insurance against getting stranded. A quick check of fluid levels and a visual inspection for rust before each trip can prevent a major mechanical headache on the water.
Conclusion
The difference between a ruined day and a minor delay isn’t a mechanic’s license—it’s a methodical approach and the confidence to use it. Moving past the initial panic of a silent engine and into a calm, diagnostic mindset is the most valuable skill you can develop as a boat owner.
This guide is your foundation for that confidence.
Your Key Takeaways
- Master the Triage: The kill switch, gear position, and fuel valve solve more problems than you think. Make this two-minute check muscle memory.
- Filters & Impellers Are Everything: Clogged fuel filters and failed raw water impellers are the top causes of failure. Always carry spares and know how to change them.
- Corrosion is the Silent Killer: Proactively cleaning battery terminals and electrical connections is the best defense against electrical gremlins.
- Listen to the Alarms: Overheating and low oil pressure are not suggestions. They are immediate, non-negotiable commands to shut down and investigate.
Your Immediate Next Steps
Your journey to self-reliance starts now, not during your next breakdown. Before your next trip, take these concrete actions:
- Build Your “Get Home” Kit: Purchase and store spare fuel filters, a raw water impeller with gaskets, and a set of correctly-sized fuses on your boat.
- Schedule a 30-Minute Systems Check: Go to your boat, clean your battery terminals, inspect your sea strainer, and physically trace your fuel lines.
- Bookmark This Guide: Save this page to your phone’s home screen for quick, offline access when you need it most.
Your engine is no longer a mysterious black box. It’s a system you understand, a machine you can trust, and the reliable heart of your adventures on the water.
True confidence isn’t hoping for the best—it’s being prepared for the worst.
Leave a Reply