
Restoring and protecting your Yamaha outboard cowling isn’t just about looks—it’s about safeguarding your investment, saving money, and keeping your engine running strong. Here are the essential, actionable insights every tech-minded boat owner and enthusiast needs to optimize cowling care and extend outboard lifespan.
- Understand your cowling’s materials—fiberglass, plastic composites, and glossy finishes each require unique repair methods for effective, lasting results.
- Act fast on visible damage—address cracks, oxidation, or decal wear early to complete most repairs in under two hours and avoid costly OEM replacements ($500–$1500+).
- Master proper repair techniques—reinforce cracks with fiberglass mat and resin, use the “drill stop” method to halt spreading, and always sand between layers for a pro-grade finish.
- Prioritize surface prep and painting—stepwise wet sanding, matched primer, and dual clear coats deliver a durable, UV-resistant showroom shine that lasts.
- Invest in a custom-fit cowling cover—blocking up to 90% of sun fade and physical damage protects your Yamaha from harsh elements year-round.
- Make routine cleaning non-negotiable—freshwater rinsing, mild soap, and monthly inspections can add years to your outboard’s value and prevent hidden corrosion.
- Use modern polishes and protective coatings—ceramic coatings double UV resistance over basic wax, letting faded cowlings bounce back visually and structurally.
- See real ROI from cowling care—well-maintained cowlings boost resale value by 10–20% and slash long-term repair costs by up to 40%.
Ready to elevate your Yamaha cowling restoration game? Dive into the full guide for expert walkthroughs, gear recommendations, and next-level protective strategies.
Introduction to Yamaha Outboard Cowling Repair
Picture this: you pull up to the dock after a long day on the water, glance at your Yamaha outboard, and spot a spiderweb crack creeping across the cowling—or worse, a faded, chalky patch that hints at years of sun and salt pounding your investment.
It’s not just about looks. A damaged or neglected cowling means exposed electronics, reduced resale value, and a subtle message to anyone eyeing your boat: “This engine might not have been loved.” Replacement costs? $500 to $1,500+ for a new OEM shell—money better spent on your next adventure.
What if you could restore your outboard’s cowling to showroom shine—and tack on extra years of protection—for less than a hundred bucks and an afternoon in the driveway?
This guide delivers practical techniques and insider tips you can actually use—whether you’re patching cracks, battling stubborn oxidation, or renewing those signature Yamaha decals with total confidence.
Here’s what you’ll unlock:
- Expert strategies to diagnose, repair, and prevent common Yamaha cowling damage
- Pro-level restoration workflows tailored to cowling materials and finish
- Everyday, actionable maintenance routines for long-term durability and stunning curb appeal
- Smart business insights that quantify the real ROI of proper cowling care
You’ll learn why proactive repairs beat quick fixes, how small tweaks extend the life of your cowling, and exactly what buyers (and seasoned boaters) notice first.
Why Cowling Care Matters
A Yamaha cowling is more than a pretty shell—it’s the engine’s first line of defense. Let’s explore the materials, structure, and common damage types to understand why effective restoration is critical.
Understanding Yamaha Outboard Cowling: Materials, Structure, and Common Damage
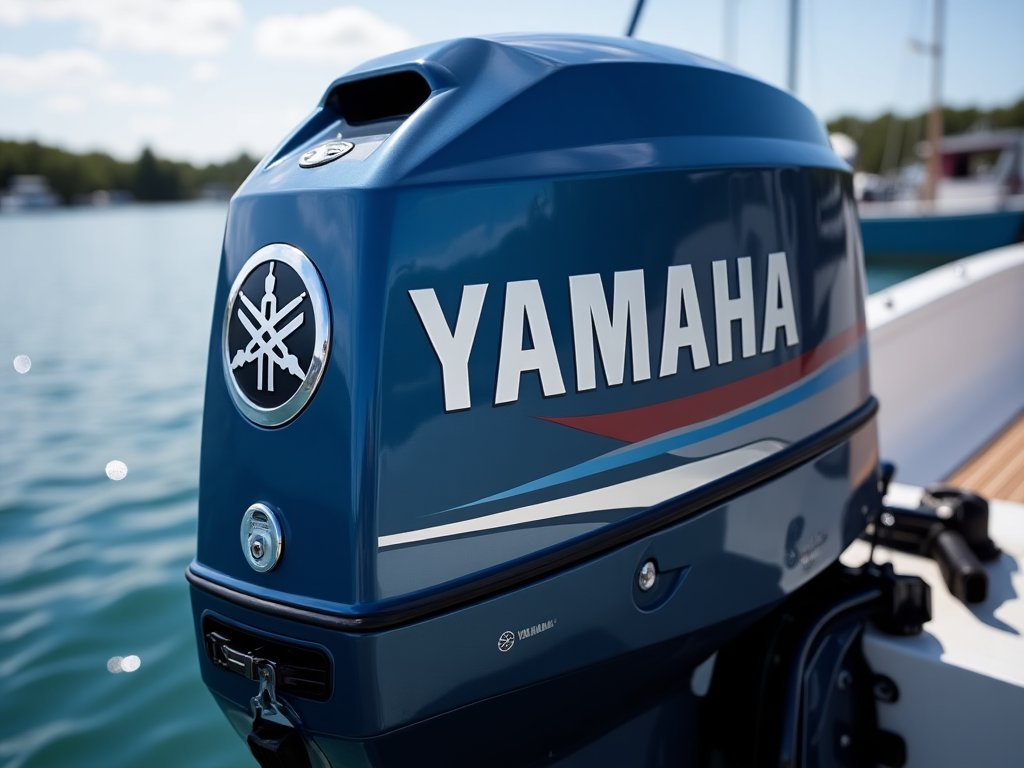
Yamaha outboard cowlings are not just cosmetic shells—they protect key engine parts from salt, sun, and flying debris every time you hit the water. Think of the cowling as the engine’s first line of defense, guarding sensitive components and electronics from the harsh marine environment.
Materials Used in Yamaha Cowlings
Most Yamaha cowlings are made of a combination of:
- Fiberglass: Delivers rigidity and can be reinforced or repaired with mat and resin.
- Plastic composites: Offer weight savings, flexibility, and some impact resistance.
- Glossy gelcoat or painted finishes: These layers fight off UV, abrasion, and weather.
Why does this matter? Repair and protection techniques depend heavily on the materials involved. For example, fiberglass mat and resin are your go-to for cracks, but plastic may require different adhesives and prep work.
Common Types of Cowling Damage
Busy boat owners report several common threats to cowling life:
- Cracks and splits: Usually at mounting points after impacts or rough trailering.
- Surface oxidation: Fading or chalkiness from relentless sun and salt.
- Decal wear and peeling: Often the first sign UV damage is setting in.
- Mounting breaks: Occur where the cowling attaches to the engine, risking fit and security.
- Corrosion around hardware and vents: Salt deposits creep into seams and eat away at finishes.
Catch these issues early, and most repairs can be completed in under two hours using off-the-shelf materials—usually at a fraction of replacement cost (new OEM cowlings can run from $500–$1500+).
How Construction Influences Repair
Imagine noticing a small crack spidering at the base of your Yamaha cowling after a long day in the sun:
- If it’s fiberglass, you’ll clean, drill stop-ends, and layer in new mat.
- Plastic composites may call for specialty glues or plastic welding techniques.
- Prepping glossy finishes requires meticulous wet sanding and painting to restore that showroom shine.
Each material demands care, and cutting corners often means visible repair lines or early failure.
Proactive Care Benefits
Routine walk-arounds spotting chips, faded spots, or decal lifting can save hundreds in future repairs. Early intervention with cleaning, UV-blocking covers, and gasket maintenance keeps your Yamaha looking sharp and running reliably, season after season.
Well-maintained cowlings don’t just look great—they keep your outboard protected and your resale value strong. For every hour you invest, you extend the life of that vital protective shell.
Strategic Framework for Yamaha Cowling Restoration
Assessing Damage and Setting Goals
Start with a thorough inspection—shine a bright light and take a slow walk around your Yamaha cowling. Look for:
- Cracks and spider lines (especially on mounting points)
- Oxidation or faded surfaces
- Loose, peeling, or scraped decals
- Mounting or bracket issues
Decide if the fix is worth your time by weighing repair vs. replacement. If over 30% of the cowling is damaged or missing, a new unit may be your best bet. Set goals based on your use:
- Cosmetic facelift for everyday wear
- Structural restoration if you’ll face rough water
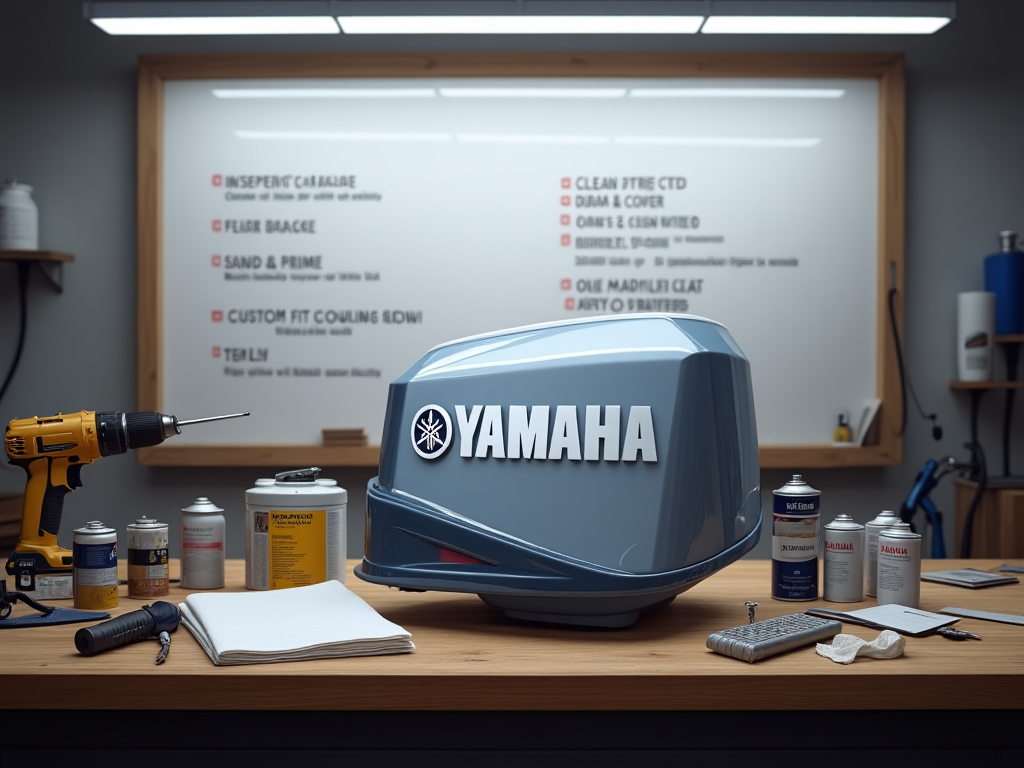
On average, a solid DIY job takes 6–12 hours and $80–$150 in materials—a fraction of the $400+ price for a new OEM cowling.
“The difference between quick fixes and thorough restoration? About four hours and your boat’s curb appeal for seasons to come.”
Structural Repairs: Fixing Cracks, Breaks, and Mounts
Begin by cleaning the area thoroughly—use dish soap and water, then rub down with isopropyl alcohol. To stop cracks:
- Drill a tiny hole at each end to halt the spread (“drill stop” technique).
Grab Yamaha-approved fiberglass mat and resin:
- Layer the inside with mat for strength
- Finish the outside with a thin, sandable mat for aesthetics
Steps to follow:
- Sand the area rough for grip
- Mix and bed resin
- Apply mat in 2–3 layers, curing 30–45 minutes each
- Sand between layers for a seamless blend
For filling:
- Use “kitty hair” (short-strand fiberglass) for deep, structural gaps
- Use Bondo or standard filler for surface smoothing
Real-world case: A cracked mounting tab fixed with layered fiberglass inside and out remains strong after 2+ years of saltwater use.
“A pro result starts with careful reinforcement where it counts—think inside-out, not just skin-deep.”
Surface Restoration: Prep, Paint, and Decal Renewal
Remove decals with a hot-air gun at medium heat—aim for a slow peel to limit leftover glue. Wet sand in steps:
- Start with 200 grit + dish soap for a silky glide
- Move to 400- and then 800-grit for a flawless base
Wipe down with a tack cloth to banish dust. Prime using 2–3 thin, even coats, letting each dry for 20–30 minutes. For Yamaha blues or grays, matched automotive sprays can offer close results at lower cost—check online for OEM color codes.
Best-practice painting workflow:
- Lightly scuff primer before color
- Apply 2–3 layers of color, letting each cure
- Finish with dual clear coats for UV shield and depth
Let paint cure overnight. For fresh decals:
- Wait 24–48 hours, then apply gently with a squeegee
“Restoring your Yamaha cowling is part craft, part science—patient prep and layering is what separates showroom shine from weekend-warrior regret.”
A careful, stepwise approach lets you turn faded, cracked cowlings into eye-catching assets. Focus on early prep, use marine-grade materials, and always let each stage cure for lasting results you’ll notice on every launch.
Protective Measures to Preserve Yamaha Cowling Life
Using Cowling Covers: Selection and Best Practices
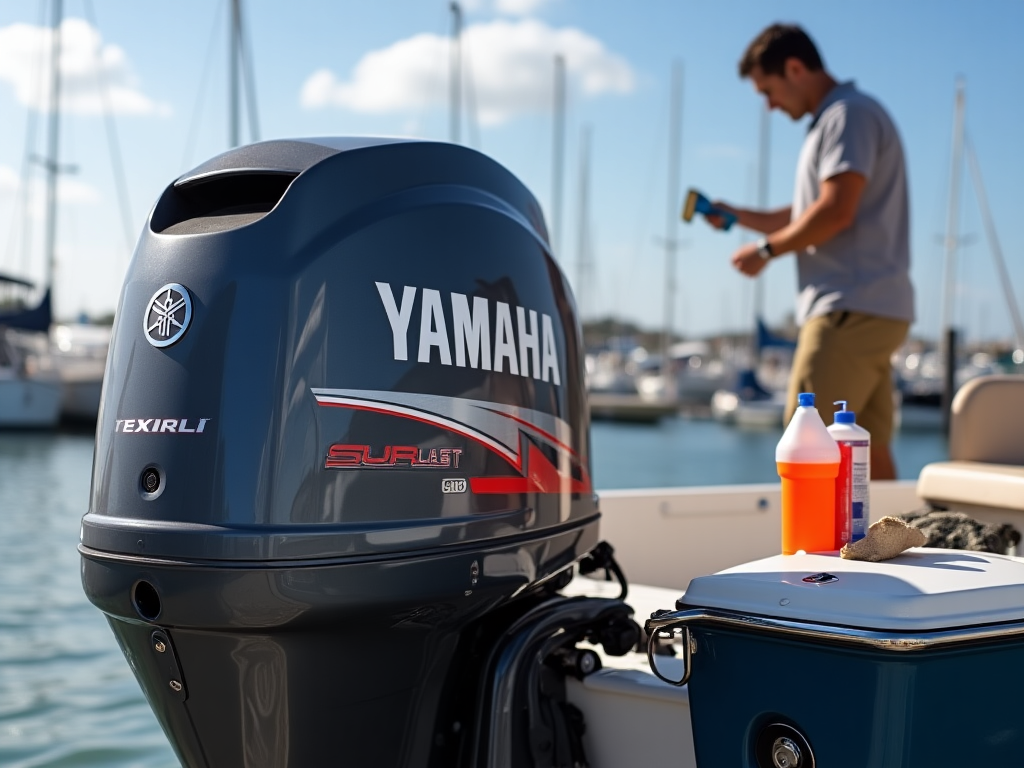
Protect your Yamaha cowling from the start—a quality cowling cover is your go-to defense against UV, salt, and road debris. Go for covers made of UV-resistant, water-repellent, and breathable fabrics. The best options—like SurLast polyester or Atlas Marine Grade—combine weather protection with a snug fit.
When choosing, look for:
- Custom fit for your Yamaha model (prevents movement and abrasion)
- Soft inner lining (reduces scratches in high wind)
- Secure straps for trailering and storage
A snug, model-specific cover can prevent up to 90% of sun fade and surface damage, especially if your outboard spends summers on the trailer or parked in open marina lots.
“Think of it like sunscreen for your motor—slip it on after every use.”
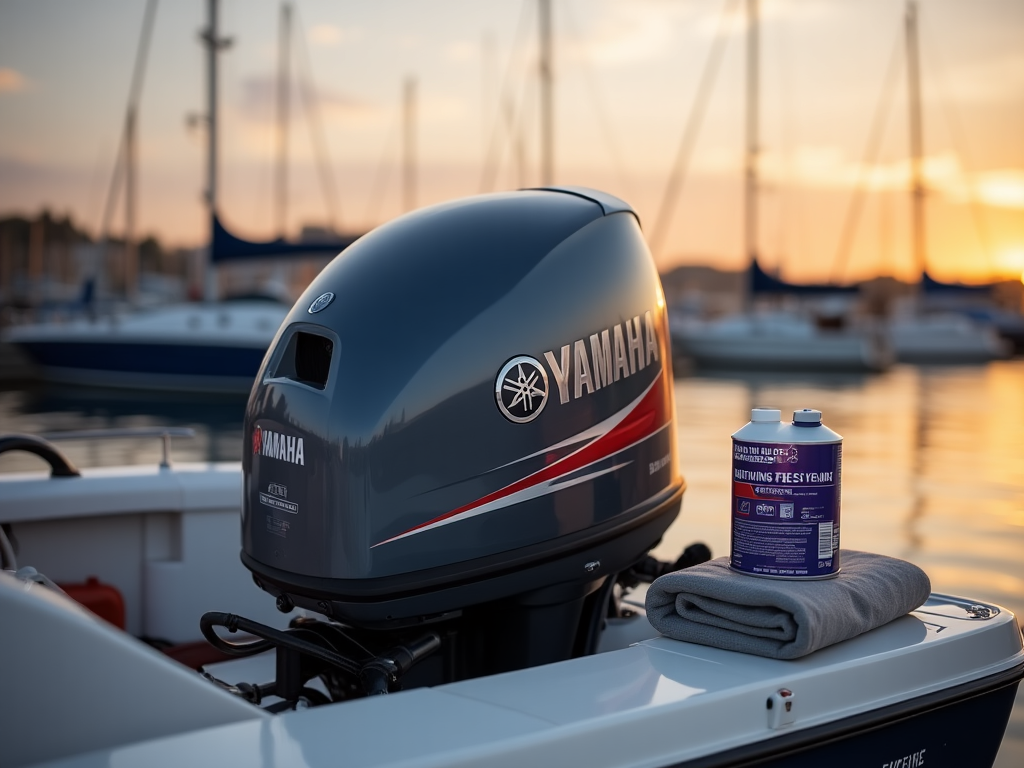
Routine Cleaning and Maintenance
Stay proactive—routine cleaning isn’t just cosmetic, it’s critical for lifespan. After every trip:
- Rinse cowling with fresh water, especially after saltwater use
- Use mild soap and a soft cloth—avoid harsh scrubbing or high-pressure water near air intakes
- Dry thoroughly before storing
Don’t forget to:
- Spray cowling gaskets with silicone spray or Yamashield to keep them flexible and leak-free
- Avoid storing cowlings wet or in sealed bags—they trap moisture, inviting mold and corrosion
Inspect monthly for wear or overlooked cracks—early fixes save big repair costs later.
“A 3-minute rinse can add years to your outboard investment.”
Polishing and Protective Coatings
Want your cowling to stand out? Polishing and coatings make restoration visual—and practical. For Yamaha clear coats and gelcoats:
- Use marine polish with a foam pad—buff in gentle circles
- For newer models, ceramic coatings offer up to twice the UV resistance of wax alone
- Microfiber application pads prevent swirl marks on dark finishes
If you spot micro-scratches or dulling:
- Light buffing with marine polish restores gloss
- Top with wax for old cowlings, or ceramic for new (costs: $20-40 DIY vs. $150+ for pro detailers)
Show-stopping before-and-after: faded cowlings rebound to showroom shine in a single afternoon.
Protective routines like these aren’t just about looks—they dramatically extend your Yamaha cowling’s life and value. With a targeted cover, simple cleaning, and the right polish, you’ll keep your boat looking sharp and minimize costly repairs down the line.
Common Challenges and Expert Solutions for Cowling Repair
Navigating Difficult Repairs
Dealing with tricky Yamaha cowling repairs means facing challenges head-on—persistent cracks, warped mounting points, and evidence of “creative” past repairs all require extra care. Here’s how experts tackle the most common headaches:
- Cracks that won’t quit: Drill a tiny stop-hole at each crack tip before reinforcing with fiberglass mat and resin. This proven technique can stop future spreading by over 90%.
- Broken or misaligned mounting tabs: Rebuild with multiple layers of mat and specialty filler (“kitty hair”), then carefully sand to match Yamaha’s original contours.
- Obvious old repairs: Sand deeply to expose the underlying damage, then start your layers with new material, not just filler. This ensures a strong, invisible restoration.
- Paint mismatch or uneven gloss: Use OEM-color reference charts or smart-match automotive sprays followed by 2-3 clear coats for “factory” shine.
- Decal alignment woes: Begin with painter’s tape guides. Mist surfaces lightly with soapy water for repositioning—then squeegee for a bubble-free, pro look.
“A flawless cowling only happens when you’re willing to undo every shortcut the last repair left behind.”
Frequently Asked Questions
Smart tech-minded boaters always want to know: What mistakes do others make—and how can I skip them? Let’s fast-track your troubleshooting with real-world answers:
- Why does my new paint still look dull?
You likely skipped final wet sanding or buffing. Use 800-grit before the last coat, then polish for a lasting mirror finish. - Is it worth fixing a cowling with severe cracking?
If over 40% of the panel is damaged, replacement saves time and money in the long run. - Where do the best matching Yamaha parts come from?
Trusted marine dealers and dedicated OEM suppliers are your go-to—don’t risk off-brand kits that rarely line up or seal properly.
Red flag moment: If you spot “spider web” cracks everywhere, the underlying structure is likely compromised. That’s your cue to source a new cowling, not keep patching.
“The #1 DIY mistake? Rushing paint and skipping prep. The right prep turns a repair into restoration—every single time.”
When you master both flawless prep and smart troubleshooting, your Yamaha cowling can go from battered to show-ready—saving you money, time, and a boatload of frustration.
The Business Case for Yamaha Cowling Care
Keeping your Yamaha outboard cowling in top shape is much more than cosmetic—it’s an investment move that protects both performance and resale value. Think of your cowling as the “face” of your engine. Well-maintained cowlings boost both buyer confidence and boat appeal, while neglected ones give off red flags about the rest of the motor.
Direct Value Drivers
Maintaining or restoring your cowling can deliver real economic benefits, including:
- Higher resale price: Outboards with pristine cowlings often fetch 10-20% more during resale or trade-in.
- Longer service life: Cowling care prevents internal water damage and corrosion—a leading reason for premature outboard repairs.
- Lower repair costs: Fixing cracks early with $30 of fiberglass and paint avoids $600+ for full OEM replacement.
A cracked or sun-beaten cowling tells dealers and buyers that the engine may not have been cared for—potentially slashing value and raising questions about hidden defects.
Cost Comparison: DIY vs. Neglect
Picture this: You spot a crack after a choppy weekend. A smart DIY kit ($60-80 and two hours) can restore both strength and gloss. Ignore it, and you’re facing costly replacements, ranging from $500 to $1200 for Yamaha OEM cowlings.
- A quick investment in restoration multiplies its worth over neglect.
- Routine covers and cleaning add years to your engine’s life and can shave 30–40% off long-term upkeep.
- Many pros see return-on-investment (ROI) in as little as one boating season.
What Buyers and Dealers Notice
Savvy buyers and dealerships notice:
- Original finish and decals (shows pride in ownership)
- Absence of cracks, chalking, or repair lines (signals mechanical care)
- Documented upkeep and before/after photos (reduces bargaining leverage)
“Restore, don’t hide—your cowling is your boat’s handshake,” sums up a veteran Yamaha mechanic.
For tech-focused owners building full restoration workflows, streamlined record-keeping maximizes not just value, but sale speed. Proactive cowling care is a smart strategy—protecting your engine’s value, boosting its curb appeal, and delivering real savings every season.
Conclusion: Take Action for Your Yamaha Cowling
Restoring and protecting your Yamaha outboard cowling isn’t just about aesthetics—it’s about safeguarding your engine, maximizing longevity, and maintaining true pride of ownership. Every bit of proactive care pays off with fewer headaches, lower costs, and a boat that stands out for all the right reasons.
Here are your most important takeaways to put into practice now:
- Catch damage early and act fast—routine inspections are your shortcut to avoiding costly repairs.
- Use the right materials: fiberglass mat and resin for cracks, specialty glues for plastics, and OEM-color paints for that seamless finish.
- Invest in a high-quality, model-specific cowling cover to fight UV and debris damage before it starts.
- Prioritize thorough cleaning after every outing—fresh water, soft soap, and gasket care extend your cowling’s life by years.
- If visible flaws or mounting issues pop up, address them with careful prep and marine-grade supplies—quick fixes simply don’t last.
Ready to start? Here’s your path forward:
- Inspect your Yamaha cowling this week—check for cracks, oxidation, or decal wear.
- Gather any repair and maintenance supplies before the weekend to make your restoration straightforward.
- Commit to routine rinsing and cover use after every trip—just a few minutes keeps your investment strong.
- Share before-and-after photos or your favorite repair tip online—be part of the community raising the bar on outboard care.
Every hour you put into restoration is an hour added to your outboard’s reliability and resale value.
Grow your reputation for meticulous care—and let your Yamaha cowling do the talking at every launch. Because the best protection isn’t just what you see; it’s the confidence and value you build every season. Start your restoration journey. Turn routine maintenance into show-stopping results.