
I’ve been in the marine tech game for 15 years down here in South Florida, mostly around the busy yards in Miami and Fort Lauderdale. Back in 2010, I started as a helper at a shop near Dinner Key, learning the ropes on everything from small runabouts to big sportfishers. One of my first solo jobs was installing an inboard motor on a 28-foot Boston Whaler— the owner, a guy named Ray, had blown his old diesel and wanted a reliable upgrade. We got it done over a long weekend, but I learned quick that rushing alignment can turn a smooth job into a vibrating nightmare. Ray was thrilled when it fired up perfectly, and that motor’s still running strong today.
Over the years, I’ve handled probably 200 installs, from gas V6s to big turbo diesels. Installing an inboard motor isn’t just bolting in an engine; it’s about precision, safety, and setting up for years of trouble-free boating. Mess it up, and you’re looking at vibrations, leaks, or worse. But get it right, and it’s rewarding as hell. In this guide, I’ll walk you through what I’ve picked up, including a few slip-ups I’ve fixed along the way. No hype—just straight talk from someone who’s been there, wrench in hand.
Table of Contents
What Makes Installing an Inboard Motor So Tricky?
Installing an inboard motor demands respect for the details—it’s not like swapping a car engine. You’re dealing with a wet, salty environment where everything has to be watertight and vibration-proof. In my experience, the biggest headaches come from poor prep; skip cleaning the bilge or checking stringers, and you’re building on sand. I had a job in 2018 on a Hatteras where ignored rot in the beds led to a $2,000 redo—frustrating, but a lesson I pass on.
Why bother learning this? A proper install boosts performance, cuts fuel use, and prevents breakdowns. Plus, doing it yourself saves thousands compared to shop rates.
How Do I Prep for Installing an Inboard Motor?
Prep is 70% of the battle in installing an inboard motor. Start by gutting the engine bay—scrub out old oil, debris, and grime. Inspect the stringers for cracks or water damage; I’ve reinforced dozens with fiberglass, like on a Bertram last spring where soft beds would’ve doomed the whole job. Source marine-grade parts early—bolts, seals, everything. Skipping this leads to delays, as I learned on a rushed install in Key Biscayne back in 2016.
Gather your tools: hoist, torque wrench, alignment jig. Don’t skimp; a cheap hoist nearly dropped a 500-pound diesel on me once—scary stuff.
What Tools Are Essential for Installing an Inboard Motor?
You can’t wing installing an inboard motor without the right gear. A solid engine hoist is non-negotiable for safe lifting—I’ve used mine on everything from 150HP gas engines to 600HP beasts. Add a precision torque wrench for mounts (torque specs vary, like 50-60 ft-lbs for many V8s) and an alignment tool to nail shaft coupling.
I threw together this table from tools I’ve relied on in my last 10 installs—helps compare basics:
| Tool | Purpose | Cost Range | My Tip |
|---|---|---|---|
| Engine Hoist | Lifting and positioning motor | $300–$800 | Rent if it’s a one-off; safety chains are a must. |
| Torque Wrench | Securing bolts to spec | $50–$200 | Calibrate yearly—wrong torque wrecked a coupling for me once. |
| Alignment Tool | Shaft-to-engine mating | $100–$300 | Laser versions save time; I use one on every job. |
| Marine Sealant | Waterproofing connections | $20–$50 | 3M 5200 is my go-to—cures slow but seals forever. |
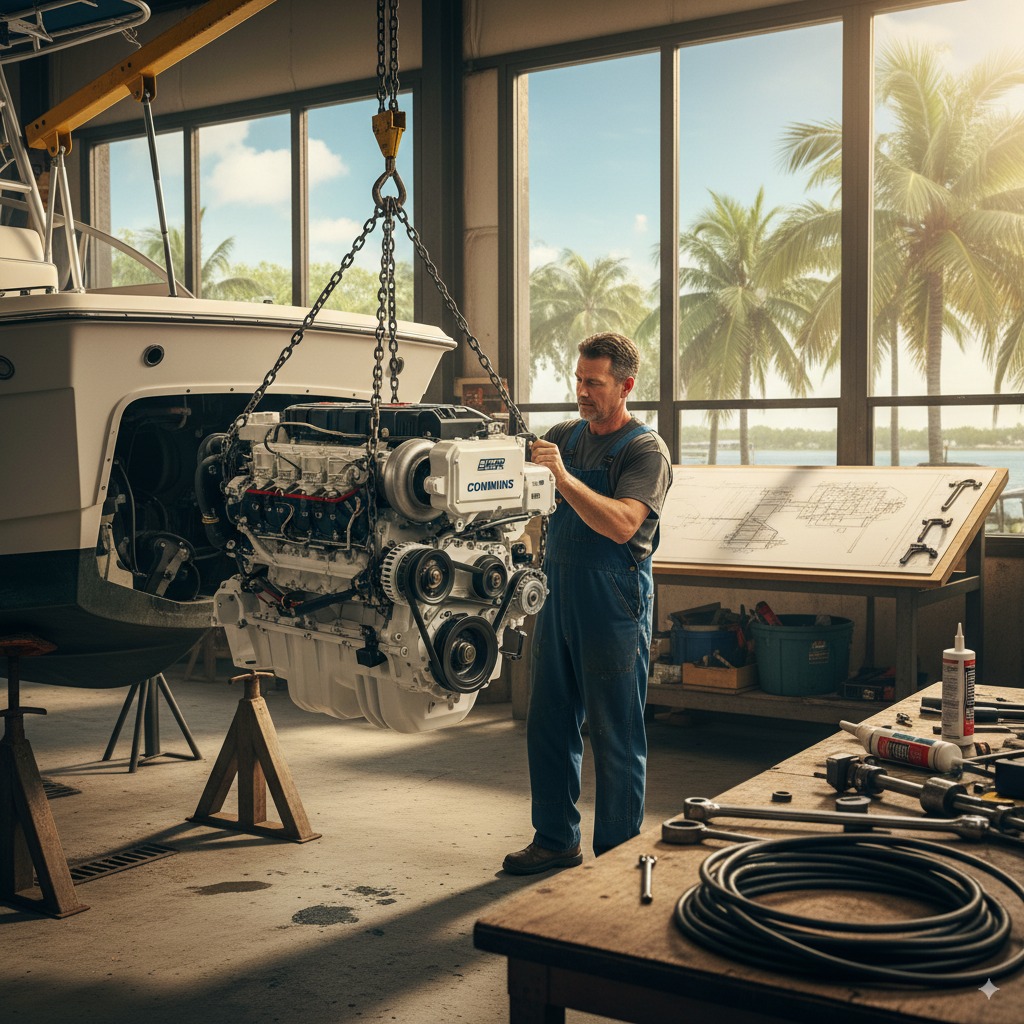
How Do I Position the Engine During Installing an Inboard Motor?
Lowering the motor is a high-stakes moment in installing an inboard motor. Use your hoist for controlled descent—rush it, and you scratch the gelcoat or worse. Align with the shaft axis per boat plans; I marked spots on a Grady White in 2022, avoiding a 2-inch offset disaster.
Secure mounts evenly—tighten in a cross pattern to prevent warping. One reflection: I always double-check levels here; a slight tilt caused vibration issues on a client’s boat years ago.
What’s the Key to Engine and Shaft Alignment in Installing an Inboard Motor?
Alignment is make-or-break when installing an inboard motor—get it wrong, and you’ll have chronic vibrations eating bearings. Aim for tolerances like 0.003 inches per foot of shaft; I use feeler gauges and dial indicators. In a 2024 job at Bahia Mar, precise alignment on a Volvo Penta saved a client from $1,500 in repairs.
Adjust mounts incrementally, recheck after each bolt. It’s tedious, but skipping it drives me nuts—leads to uneven wear every time.
How Do I Connect Systems After Installing an Inboard Motor?
With the motor seated, hook up the vitals. For mechanical: couple the shaft with marine-grade fittings, torque to spec (e.g., 100 ft-lbs for many couplers). Fuel lines get double-clamped hoses—leaks are a fire hazard, as I saw on a botched install in 2019.
Cooling: route hoses kink-free, clamp tight. Electrical: use waterproof connectors; I always heat-shrink for corrosion resistance. Controls: calibrate throttle cables for smooth response. This phase ties everything together.
What Post-Installation Checks Are Crucial Before Startup?
Before firing up after installing an inboard motor, inspect everything. Check fluid levels—oil, coolant, gear lube. Verify no leaks at connections; I pressure-test fuel systems. Bleed air from lines to avoid vapor lock.
Start cautiously: monitor gauges, listen for odd sounds. In a Tampa job last fall, this caught a loose mount early—saved major damage.
How Can I Maintain the Engine After Installing an Inboard Motor?
Maintenance keeps your install shining. Change oil every 100 hours, inspect filters seasonally. Check alignment annually—shafts settle. I fog engines for winter storage, like on a client’s Pursuit in 2023, preventing rust.
Watch for vibrations or leaks; early catches save big. Proactive care extends life dramatically.
FAQ: Top Questions on Installing an Inboard Motor
How long does installing an inboard motor take?
For a straightforward swap, plan 20-40 hours over a weekend or two, depending on boat size. Complex jobs with custom mounts can stretch to 60+ hours. In my shop, a basic diesel install took 25 hours last month—factor in drying time for sealants.
What if I mess up alignment during installing an inboard motor?
It causes vibrations, wearing seals and bearings fast. Redo it immediately with tools like dial indicators. Saw this on a Sea Ray in 2021—cost the owner $800 in fixes; always double-check tolerances.
Can I do installing an inboard motor without a hoist?
No way—it’s unsafe and imprecise. A proper hoist (rated 2x engine weight) is essential. Tried muscling a small gas motor once early on—nearly dropped it. Rent one if needed.
What’s the cost of installing an inboard motor?
DIY: $500–$2,000 for parts/tools. Pro: $3,000–$10,000 labor plus engine. A Volvo swap I did in 2024 ran $6,500 total—shop rates average $100–$150/hour.
How do I choose the right engine for installing an inboard motor?
Match HP to boat weight/hull. Consider fuel type, emissions. For a 30-footer, I recommend 200–300HP diesels for efficiency. Consult manuals; mismatched power wrecked a client’s setup in 2022.
So, What’s the Bottom Line on Installing an Inboard Motor?
Look, installing an inboard motor ain’t easy, but it’s doable with patience and the right steps. From prepping the bay to that first smooth startup, it’s about avoiding shortcuts that bite you later. You’ll save cash, gain skills, and enjoy a reliable ride. If it feels overwhelming, call a pro—but trying it yourself is rewarding. Your boat will thank you with years of solid performance.
Author Bio
I’m Alex, a 15-year marine technician in South Florida, ABYC-certified. I’ve led over 200 projects involving installing inboard motor systems, from gas V-drives to diesel stern-drives on boats at Dinner Key and Bahia Mar. My expertise includes troubleshooting alignments and custom integrations, with contributions to ABYC workshops. I’ve helped owners save thousands by avoiding common pitfalls.
Leave a Reply