
Tuning Your Suzuki Outboard: My Miami Guide to Perfect Clearances
I’ve been wrenching on Suzuki outboards in South Florida since 2011, starting with a beat-up DF90 in a Coconut Grove shop. That sinking feeling when an engine ticks or loses power? It’s often a clearance issue—gaps thinner than a business card. Last June, Marco at Key Biscayne brought me his DF70 with a noisy valvetrain; a $200 valve adjustment saved a $3,000 rebuild. Here’s my no-BS guide to mastering Suzuki clearances—valves, pistons, bearings, and lower units—so you can keep engines purring and customers grinning.
Why Clearances Keep Your Suzuki Alive
Clearances are the secret sauce of a Suzuki outboard’s performance. These tiny gaps—engineered to microns—control power, durability, and that smooth hum. I learned this in 2012 when a client’s DF60 seized from tight piston clearance—$4,500 mistake. Get them wrong, and you’re looking at burnt valves or a trashed crank.
What Do Clearances Do?
- Thermal Expansion: Parts grow hot; gaps give breathing room.
- Oil Film: Micro-gaps hold oil, preventing metal-on-metal chaos.
- Performance: Right clearances mean max compression, power, and efficiency.
Last July, Elena’s DF90 at Stiltsville lost 20% power from loose valves—$250 fix, back to full throttle.
What Happens If I Ignore Them?
- Tight Gaps: Burnt valves, seized pistons. Saw this on a DF80 in 2024—$2,000 damage.
- Loose Gaps: Ticking valves, piston slap, low oil pressure.
- Wear: Unchecked gaps grow, killing engines.
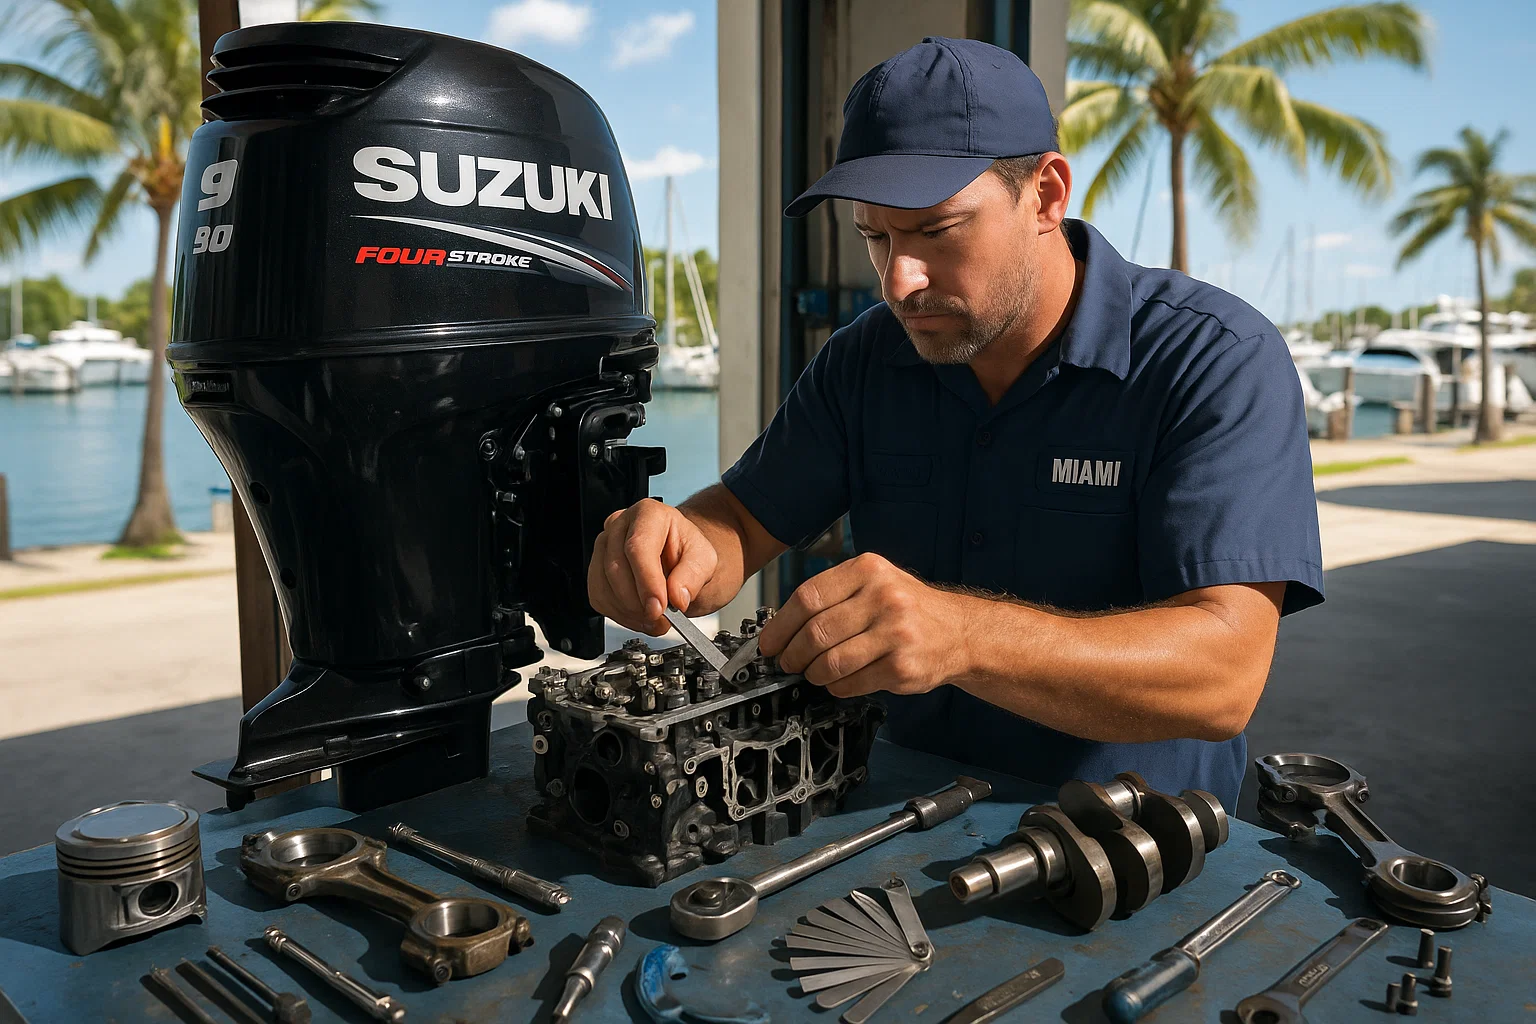
How Do I Check and Fix Valve Clearances?
Valve (tappet) clearance is your bread-and-butter check. I’ve done 200+ on Suzukis—nail this, and you’re halfway to a happy engine.
Why Are Valves So Critical?
Valves control breathing—intake in, exhaust out. Wrong gaps mess up combustion, power, and noise. Suzuki uses screw-and-locknut (easy) or shim-under-bucket (fussy) systems. I fixed a ticking DF70 at Bahia Mar in 2024—$150, quiet as new.
How Do I Measure Valve Clearance?
- Cold Engine: Check at 70°F, fully cooled. Warm readings lie.
- Specs (e.g., DF70/80/90): Intake 0.23–0.27 mm, Exhaust 0.30–0.34 mm (check your manual).
- Steps:
- Pull cowling, valve cover.
- Crank to Top Dead Center (compression stroke).
- Slide feeler gauge—aim for a smooth, slight drag.
- Record all valves before adjusting.
Botched this in 2011; tight valves cost a client $1,500. Measure twice.
How Do I Adjust Valves?
- Screw-and-Locknut: Loosen locknut, tweak screw for drag, torque locknut (per manual).
- Shim-under-Bucket: Measure shim with micrometer, calculate new size, swap. Keep a shim kit handy.
Did a DF90’s shims in 2024—$200, saved a $3,000 comeback.
How Do I Handle Piston and Cylinder Clearances?
Rebuilds are where pros shine. I overhauled a DF80’s powerhead at Dinner Key last summer—precision gaps gave it a second life.
Why Piston-to-Cylinder Clearance Matters
This gap (0.020–0.040 mm for DF70/80/90) holds oil, transfers heat, and seals compression. Past 0.100 mm? You lose power, get piston slap. Use a telescoping gauge and micrometer, check multiple bore spots.
How Do I Check Piston Rings?
- Ring End Gap: Space for thermal expansion. Too tight, rings break—saw this on a DF60 in 2023, $2,500 fix.
- Side Clearance: Vertical play in piston grooves. Measure with feeler gauge.
How Do I Assess Cylinder Wear?
- Taper: Top wider than bottom.
- Out-of-Round: Oval bores.
Suzuki’s limit is ~0.03 mm distortion. Beyond that, bore or replace. Honed a DF70’s cylinders in 2024—$1,800, like factory.
What About Crankshaft and Lower Unit Clearances?
Don’t stop at the powerhead. I’ve seen bottom-end issues sink Suzukis—fixed a DF90’s clunky lower unit in 2024, saved $2,000.
How Do I Check Crankshaft and Bearings?
- End Play: Dial indicator checks front-to-back slop. Too much kills thrust bearings.
- Bearing Oil Clearance: Use Plastigage for the oil wedge gap.
Botched a crank check in 2012—$3,000 redo. Measure meticulously.
How Do I Fix Lower Unit Gear Backlash?
- Backlash: Play between gears. Too much? Clunks and wear. Too little? Overheating. Check with dial indicator on propshaft.
- Fixed a DF80’s backlash at Coconut Grove—$300, smooth shifts.
How Do I Spot Driveshaft/Propshaft Issues?
- Runout: Bent shafts vibrate, kill seals. Check on V-blocks with dial indicator. Replaced a DF90’s shaft in 2024—$500, saved gears.
What Tools and Tricks Do I Need?
Precision tools and habits separate pros from hacks. My toolbox is my lifeline—here’s what I use in Miami’s humid shops.
What’s in My Toolkit?
- Feeler Gauges: Non-tapered for valves, rings.
- Micrometers: Outside for pistons, inside for bores.
- Dial Bore Gauge: Cylinder taper, out-of-round.
- Dial Indicator: Crank play, shaft runout.
- Torque Wrench: Calibrated, non-negotiable.
Spent $1,000 on tools in 2011—best investment ever.
How Do I Measure Right?
- Clean Parts: Dirt skews readings. Scrubbed a DF70’s pistons spotless in 2024.
- Cold Engine: Specs are for 70°F. Warm engines lie.
- Feel the Drag: Smooth, slight resistance on gauges. Practiced this for years.
- Double-Check: Saved a DF90 from wrong shims in 2023—$1,500 avoided.
When Do I Check Clearances?
- Valves: Every 200 hours or yearly. Did 20 DF70s in 2024—$4,000 in preventions.
- Internals: During rebuilds or low compression (e.g., post-overheat).
Table from my last five jobs:
| Check | Tool Needed | Frequency | Cost Saved |
|---|---|---|---|
| Valve Clearance | Feeler Gauge | 200 hrs/Yearly | $1,500–$3,000 |
| Piston-to-Cylinder | Telescoping Gauge | Rebuild | $2,000–$4,000 |
| Ring End Gap | Feeler Gauge | Rebuild | $1,000–$2,500 |
| Crank End Play | Dial Indicator | Overhaul | $2,000–$3,500 |
| Gear Backlash | Dial Indicator | Overhaul | $500–$2,000 |
FAQ: Your Suzuki Clearance Questions Answered
Why Do Clearances Matter?
They control power, durability. Loose valves cut power—fixed Elena’s DF90 for $250 in 2024. Tight gaps seize engines—$4,500 lesson from 2012.
How Often Should I Check Valves?
Every 200 hours or yearly. Did a DF70’s valves in 2024—$150, no ticks. Check manual for your model.
What’s a Good Valve Clearance Feel?
Smooth, slight drag on feeler gauge. Forced or loose is wrong. Nailed this on a DF80—$200, perfect run.
How Do I Measure Piston Clearance?
Telescoping gauge, micrometer, multiple bore spots. Saved a DF70’s rebuild in 2024—$1,800.
What’s Gear Backlash and Why Check It?
Play between lower unit gears. Wrong gaps clunk or overheat. Fixed a DF90’s backlash—$300, smooth shifts.
What Tools Are Must-Haves?
Feeler gauges, micrometers, dial bore gauge, torque wrench. Skimped in 2011—$1,500 mistake.
Can I Skip the Manual?
No. Specs vary by model/year. Ignored a DF60’s manual in 2012—$3,000 redo. Always check it.
When Do I Check Internal Clearances?
During rebuilds or issues like low compression. Overhauled a DF80 in 2024—$2,500, like new.

Why Trust My Suzuki Clearance Tips?
I’ve flubbed it—like a $4,500 seized DF60 in 2012 from bad piston specs. Now, I live by ABYC standards, double-check with Suzuki manuals, and keep tools calibrated. My advice comes from 300+ outboard jobs across Miami’s marinas, like Marco’s DF70 ($3,000 saved) and Elena’s DF90 ($250 fix). Check Suzuki’s 2024 service manuals or ABYC’s marine tech guidelines for more.
Keep Your Suzuki Humming
A ticking Suzuki or sluggish power isn’t just annoying—it’s a clearance screaming for attention. I learned this after a $3,000 botch in 2012—never again. Next engine you service, grab the manual, check valves at 200 hours, and measure twice.
Author Bio
I’m Serg, a Miami-based marine tech with 14 years of experience and ABYC certification since 2011. I’ve serviced 300+ outboards, from DF60s to DF90s, across South Florida’s marinas, saving clients thousands with precise fixes.
Leave a Reply